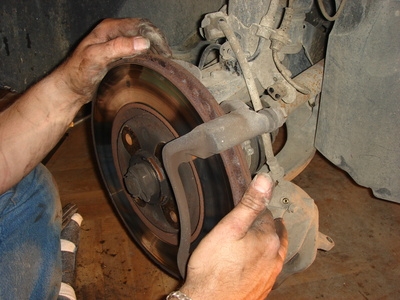
Changing the brake rotors on the Chevy Colorado is not a difficult procedure. You would typically change the pads at the same time that you would the rotors. You can expect the rotors to take you about 30 minutes to replace on each wheel and you can do the project in your driveway. When you change pads and rotors on your truck, always replace them on both wheels on the axle. If you replace them on only one side, braking will not be balanced between the wheels. Note that these instructions are specific to the two-wheel-drive Colorado.
Park the Colorado on a level surface and turn the key off. Place the wheel chocks behind the rear wheels. Jack the truck up with the floor jack. Place a jack stand under each side of the truck near the jacking point and raise it to the frame. Remove the lug nuts using the lug wrench and pull the wheels off the truck. Work on one side at a time, so you will always have a completed assembly as a visual reference.
Unplug the speed sensor from the wheel hub. Remove the caliper pins with a socket and ratchet. Pull the caliper from the wheel assembly. Secure it to the strut or frame with a wire tie or stiff wire, such as a coat hanger. Do not allow the caliper to hang from the brake line.
Pull the rotor from the wheel assembly. Clean the wheel assembly thoroughly with the wire brush. Put the new rotor on the wheel assembly. Note that you must clean the new brake rotors with brake cleaner or denatured alcohol before you put them on the truck. Remove and replace the pads in the caliper. Place the brake caliper on the mounting bracket. Tighten the locking pins with the socket and ratchet.
Place the wheel on the Colorado and tighten the lug nuts with the lug wrench. Remove the jack stand from under the truck. Lower the vehicle to the ground. Repeat the process on the other wheel.
Pump the brake pedal several times to seat the pads against the rotors before driving the truck.