The Chevy Astro van may be equipped with both brake pads and shoes on its rear brakes. The pads work with the brake pedal while the shoes primarily work with the parking brake. Whether you are changing the pads or shoes, you need to change them for both of the rear wheels together. The procedure can vary, depending on the year of the van and if it has disc brake pads on the rear wheels or not.
Block the van's front wheels with chocks then raise the rear end with a floor jack and support it on jack stands.
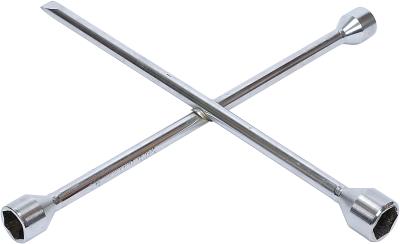
Remove the lug nuts from the rear wheels with a tire iron.
Clean off the brake assembly with aerosol brake cleaner. Catch all residue in a drip pan and dispose of it according to local ordinances.
Hold onto the brake caliper's upper slide pin with an open-ended wrench and remove the upper mounting bolt with a second wrench. Pivot the caliper down and off the mounting bracket.
Pull and remove the brake pads out of the mounting bracket.
Squeeze anti-squeal compound onto the backing plates of the new brake pads and wait a few minutes for the substance to set.
Insert the pads into the caliper mounting bracket.
Place the caliper back into position on the mounting bracket and apply its mounting bolt.
Unbolt and remove the brake caliper with a wrench, hanging the caliper by a wire to avoid stretching the brake hose. Unbolt and remove the caliper mounting bracket then slip the brake disc off the studs.
Expose the inner parking brake cable underneath the van by pulling the equalizer towards the rear of the van then clamp down on the cable with padded locking pliers to keep it extended.
Slide the brake shoe down so it clears the retaining clip, then slide it up and off the actuator. Lift one end over the central axle flange and work the shoe's circumference around the flange to remove it.
Turn the brake assembly's adjuster star wheel--located at the top of the assembly--inward with a screwdriver and make sure that the seats for the shoe line up parallel to the backing plate.
Slip one end of the replacement shoe behind the axle flange and work it around the flange. Slide the shoe under its retaining clip and make sure the ends seat into the slots on the adjuster screw.
Reinstall the disc and turn the star wheel until the shoe starts dragging against the surface inside the disc. Remove the disc and back off the adjuster until the disc doesn't drag when you install and turn the disc.
Release the pliers from the parking brake cable and reconnect the mounting bracket and brake caliper with their bolts.
Reinstall the wheels and lower the van off the jack stands with the jack. Tighten the lug nuts with the tire iron once the vehicle is on the ground.