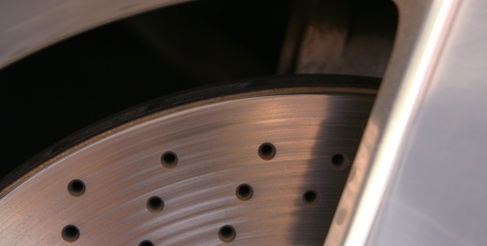
The Mazda 626 was introduced in 1979. It experienced five generational redesigns, but it wasn't until its fifth and final generation that it featured larger wheels and rear disc brakes. Combining efforts with Ford Motor Company, the Mazda 626 was considered the imported version of the Ford Probe, despite the fact that it was produced in the United States. Rear disc brakes work better than the rear drum brakes, but can require more service and replacement than drum brakes.
Wedge a brick or a small length of thick wood in front of one of the front tires of the 626 on an even surface safe for lifting and supporting the car. Make sure the vehicle is in park or in gear, but do not apply the parking brake.
Break the rear tire nuts loose with the tire nut removal tool just enough to back them away from the rim slightly.
Raise the rear of the 626--one side at a time--with the jack, then support the rear of the vehicle onto jack stands placed in a secure and safe location.
Finish removing the tire nuts and wheels.
Remove the upper and lower caliper bolts with a ratchet and a metric socket. Pry the caliper off the rotor and pads using a flat-bladed screwdriver, then use the 2-foot length of durable wire to tie the caliper to the rear suspension. Be sure there is no tension on the brake hose attached to the caliper. Slowly squeeze the caliper piston into the caliper housing, using the 12-inch channel locks.
Remove the outer and inner brake pads from the caliper mount. If necessary, use the screwdriver to pry them out of their seats. If you're just replacing the pads, remove the upper and lower pad clips from the mount and apply some silicone brake grease to the tab seats on the clips. Replace the clips, then proceed to Step 11.
Remove the upper and lower caliper mount bolts with the ratchet and a socket.
Remove the rotor from the hub.
Clean the coating of rust preventative off of the new rotors with brake and parts cleaner spray, then place the new rotor onto the hub.
Apply silicone brake grease to the upper and lower pad clip seats, then reinstall the caliper mount and replace the upper and lower bolts. Tighten the bolts to 65 foot-lbs. with the adjustable torquing wrench and a metric socket.
Remove the thin transparent paper from the replacement pads (if applicable) and apply the stick-on shims (supplied with the replacement pads) if not already staked onto the backing plates of the pads. Install the inner and out pads into the caliper mount.
Remove the caliper from the wire and place it over the rear pads and rotor. Align the caliper according to the caliper bolts. Apply a coating of silicone brake grease to the smooth section of the bolts and insert them into the caliper. Tighten the bolts to 28 foot-lbs. with the adjustable torquing wrench and a metric socket.
Replace the brakes on the other rear wheel applying the same procedure, then replace the wheels and tire nuts. Tighten the tire nuts so the rims are mounted firmly to the hub.
Lower the 626, then re-tighten the lug nuts with the adjustable torquing wrench set at 80 foot-lbs. and a metric socket.
Apply a pump action to the brake pedal to extend the caliper pistons and seat the rear brake pads. Once the pedal feels firm, remove the brick or wood and test drive the vehicle.