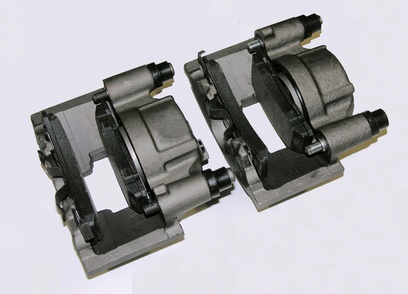
General Motors Corporation (GMC) equipped late-model Sierras with front and rear hydraulic disc brakes. Pressurized brake fluid from the brake master cylinder causes the pistons in the brake calipers to expand and clamp the brake pads onto the rotor. Brake pads, made from a composite friction material that wears with use, are considered a normal wear point and require periodic maintenance. GMC brake pads equipped with indicator tabs make a squealing noise when the brakes are applied on pads that are in need of replacement.
Raise the front (or rear) of the vehicle with a jack. Support the vehicle securely with a pair of jack stands.
Remove the lug nuts from the wheel with a lug-nut wrench. Pull the wheel off the hub.
Open the hood. Remove the master cylinder reservoir cover by hand. Ensure that the fluid level is no higher than the maximum full level marked on the reservoir. Remove excess fluid before proceeding if necessary.
Install two C-clamps on the caliper so that they bear on the back of the caliper and the outer brake pad. Tighten the C-clamps until the caliper pistons are compressed fully into the caliper body. Loosen the C-clamps and remove them from the caliper.
Remove the lower caliper bolt with a wrench. Rotate the caliper on the upper caliper bolt until the caliper is clear of the rotor.
Remove the old pads from the caliper by hand. Remove and discard the old anti-rattle clips from the caliper bracket.
Place new anti-rattle clips in position on the caliper bracket. Install the new brake pads onto the caliper mounting bracket. Place the pad with the squeal tab to the inside of the caliper.
Rotate the caliper down and into position over the pads and the caliper bracket. Install the lower caliper bolt and torque it to 74 foot-pounds with a 3/8-inch torque wrench and socket.
Install the tire onto the hub. Install the lug nuts and torque them to 140 foot-pounds with a 1/2-inch torque wrench and socket using a cross-pattern.
Raise the vehicle with a jack. Remove the jack stands and lower the vehicle to the ground.
Slowly apply brake pressure with the brake pedal until it is 2/3 of the way to the floor. Slowly release the brake pedal and wait 15 seconds. Repeat this process until the brake pedal is firm. Check and top off the fluid level in the reservoir and install the cap by hand.