The Oldsmobile Aurora came standard with four-wheel disc brakes. The rear disc brake system uses an actuator caliper that has a mechanical parking brake function built in. Replacement of the brake pads on this system is similar to other General Motors four-wheel disc brake systems, and it's well within the abilities of the average home mechanic. The rear calipers do require a special tool to compress the piston back into the caliper, but this tool is widely available at auto parts stores.
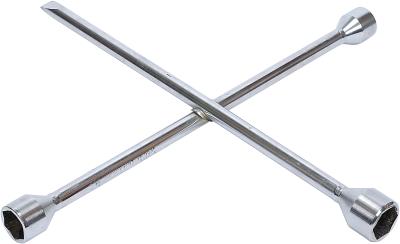
Place wheel chocks behind the front wheels of the Aurora, and release the parking brake. Raise the rear wheels with a floor jack, and place jack stands just in front of the wheel well. You will notice an area of the pinch weld about 6 inches in front of the wheel opening that is reinforced for jacking and jack stand placement. Remove the wheels with a lug wrench, and store them away from the work area.
Remove the caliper hold-down bolts, and pry up on the caliper to remove it. This can take a little effort to slide the caliper past the locating pin on the back of the brake pads. Compress the caliper piston by rotating and pushing the piston back into the housing with the caliper piston tool.
Remove the caliper bracket, and slip the rotor off the hub assembly. Take the rotors to an auto parts store or repair shop, and have them machined to remove warp. This will prevent brake noise and vibration.
Clean and lube the slide pins and pad contact surfaces with silicone brake lube. This prevents accelerated pad wear due to sticking caliper slides.
Install the rotors, the caliper bracket and the new pads. A small locating pin on the back of the inside pad engages a notch in the face of the caliper piston. Rotate the piston with the piston tool to line these up. Slide the caliper into place, and securely tighten the retaining bolts.
Reinstall the wheels, and pump the brake pedal. Lower the Aurora onto the ground and test-drive to verify the brakes work properly. Set the parking brake, and make sure it holds while the vehicle is in drive.