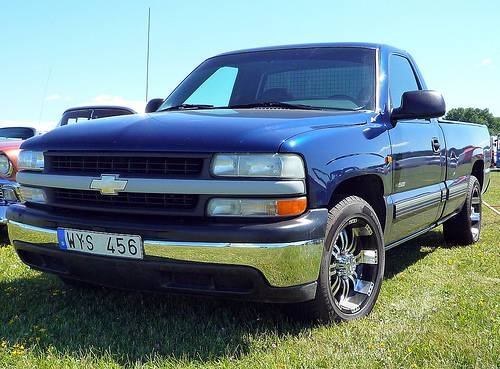
Properly functioning brakes can mean the difference between life and death on the highway. Heavy payloads, towing and a higher gross vehicle weight compared with cars all put increased stress on your Chevy truck's braking system. Brake repairs can easily be performed by the home mechanic with few special tools, and in a relatively short period of time.
The first sign that your Chevy truck's brakes need service will be an audible grinding or scraping noise coming from the front of the vehicle whenever you apply pressure to the brake pedal. The sound may change while braking in a turn and it may lessen or completely stop as the brake pedal is fully depressed. The sound is caused by the brake pad's wear indicator, a thin strip of metal that contacts the brake rotor once a certain percentage of the brake pad's thickness is lost due to normal wear. If you suspect that your brake pads are worn, check them immediately. Allowing prolonged contact between the wear indicator and the rotor can damage the rotor.
Begin by parking the truck on a level surface. Put the transmission in Park (automatic transmissions) or first gear (manual transmissions) and set the parking brake. Put wheel chocks or wooden blocks around the rear wheels to prevent the vehicle from rolling away. Use a jack to lift the front of the vehicle and support it with jack stands placed underneath the frame or front axle (four wheel drive trucks). Remove the front wheel to reveal the break assembly. Look for the wear indicator; if it is in contact or close to being in contact to the brake rotor, the pads on either side must be replaced. The caliper will be mounted with two bolts that pass through the caliper mounting bracket on the inboard side of the brake rotor, and are secured by machined threads in the outboard side of the caliper. Remove those bolts. Then place a c-clamp over the caliper. Set the bottom of the c-clamp on the raised curricular cup on the inboard side of the caliper, which houses the piston. Set the top of the c-clamp on the outer brake pad. Tighten the c-clamp until the piston is driven all the way back into the caliper. Then pull the caliper off the rotor. While the brake caliper is disconnected from the rotor, do not let it hang from the hydraulic brake line; secure it with a wire or a plastic tie to the vehicles frame, as stress on the hydraulic line could damage the line or cause air to leak into the system, resulting in brake failure and/or poor brake performance.
Inspect the brake pads, you will see a series of rivets that secure the pad material to the steel backing plate. If there is less the 1/32 in. of material between the pad surface and the rivets or if there are any cracks or gouges in the pad surface, the pads must be replaces. Inspect the brake rotor. The surface should be even with no irregular grooves or gouges (some brake discs are made with grooves machined into the surface to aid in cooling. Run your finger across the surface of the disc, starting from the center and moving outward. The surface should be flat. If the disc becomes thinner toward its outer edge or is worn, it must be replaced.
On four-wheel-drive models, the rotor can simply be pulled off the wheel hub. On two-wheel-drive models, use a flat blade screwdriver to pry the grease cap off the rotor, then remove the cotter pin and castle nut. Pull the brake rotor off the spindle, but be careful not to drop the wheel bearings.
On four-wheel-drive vehicles, the rotor can simply be pushed back onto the spindle. Just make sure you line up the holes in the brake rotor with the wheel studs. On two-wheel-drive models, you must carefully drive the outer wheel bearing races out of the old rotor using a wheel-bearing removal tool. Then use a wheel bearing installation tool to drive the outer race into the new brake rotor. Pack the bearings with grease before loading them into the rotor and sliding the rotor back onto the spindle. Reinstall the outer bearing, washer and castle nut and torque the nut to 12 ft. lbs. Reinstall the cotter pin and the grease cap.
Load the brake pads into the caliper. The inboard pad will have a steel clip that gets seated in the caliper piston. The outer pad will have a steel clip with tabs that slide over the edges of the caliper. Slide the loaded caliper over the brake rotor and reinstall the two mounting bolts. Reinstall the wheel and lower the vehicle. Do not attempt to drive the vehicle until you restore brake pressure. When you drove the piston into the caliper with a c-clamp, the brake fluid flowed out of the caliper and into the master cylinder. Press down on the brake pedal, it will most likely fall to the floor with little resistance. You must keep pumping the brake pedal until the hydraulic fluid works it's way back into the caliper and pushes the piston out far enough to contact the rotor. Then check the brake fluid level in the master cylinder and make sure it is full.
Always remember that when you work on automotive brake systems, each axle must be serviced on both sides; if you must replace the pads on the front left wheel, you also must replace the pads on the right front wheel. If you replace the pads and rotors on the left front wheel, then you must replace the pads and rotors on the right front wheel, regardless of the condition of the brakes on the other wheel.