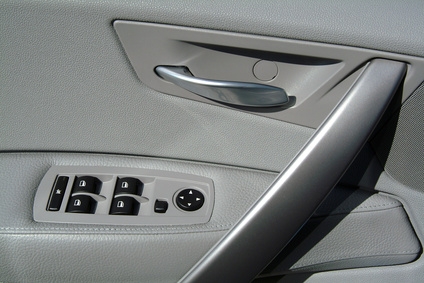
The power motor inside the door is responsible for raising and lowering the window in your Jeep Cherokee. Many times, these motors fail. When they do, your window will be stuck in whatever position it was in when the motor went out. Changing the power-window motor may seem intimidating, but it's well worth doing yourself to avoid costly repair bills at the shop.
Remove all screws securing the interior door panel on. There is a screw on the top portion, and two in the handle.
Gently pull on the interior door panel to release the plastic clips that fasten the panel. Use caution to avoid damaging the plastic clips.
With the door panel loose, release the two wire connections to the window- and door-lock switches. You must also remove the lock-mechanism poles.
Remove the four screws holding on the speaker. Remove the wire connector and set the speaker aside.
Remove the window seal by gently pulling. Make note of how each wiring harness is fed through the door panel.
There are two clips that secure the window to the track. Using needle-nose pliers, gently pull the clips off of the window. Carefully lift the window out of the track and set it aside.
Remove the motor from the track system by removing the three bolts holding the motor to the track. Remove the unit from the door and place it on a flat surface.
Remove the lower cable guide by pressing on the tab with a screwdriver and releasing the guide assembly. You must also remove the window-guide mechanism. Make sure it is turned so that you can connect the cable in the guide.
Install the replacement window motor and guide assembly onto the door panel using the three bolts. Make sure the cables are aligned properly before reinstalling the window in the vehicle.
Install all peices in the reverse order.