Auto glass is one of the more expensive items to replace on any vehicle. The Ford F-150 is no exception. You can, however, save yourself a few dollars by doing the job yourself once you purchase the replacement glass. Removing the driver’s window from the Ford F-150 requires patience and care, so as not to shatter the window glass during removal. It is best to take some precautions before attempting this repair and make sure you have a solid grasp on what needs to be done before you start.
Tape the window glass in the upright position by running the packing tape from the outside of the window, up and over the window frame and down onto the inside. Make sure it contacts the glass for at least four inches on both sides. Repeat this step once more so you have two pieces of packing tape holding the glass up, one at the front and one at the back.
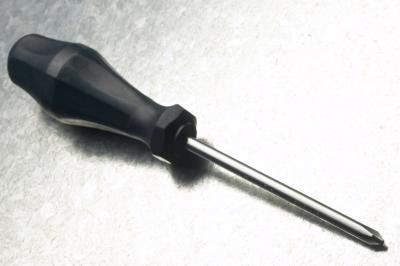
Remove any trim covers or bezels on the door that may be hiding fasteners. Depending on the year, model and interior trim package of your F-150 you may need to remove some or all of these items: the interior door handle bezel, the master switch bezel, reflector lenses, speaker covers, speakers and other small trim panels. These can be carefully pried out using the pocket screwdriver. The reflector lenses on certain models will be held in with screws that can be removed with the pocket screwdriver.
Disconnect the wiring harness from the master window switch once you have the window switch bezel removed.
Remove the fasteners you uncovered in Step 1 using the socket set. Lift the door panel up and away from the door. If you did not disconnect the window and lock switches in Step 2, disconnect them now before moving the door panel too far from the door. Different models will have Philips screws, Torx screws or hex head screws. It’s best to have all three types of tools handy in case you need them as it is not uncommon to have several fastener types in the same assembly.
Remove the trim pins using the trim pin removal tool by sliding it between the door panel and door at the trim pins location. Repeat until all the trim pins are removed from the door. Set the panel someplace safe.
Unbolt the window mount tabs from the window regulator using the socket set. Depending on the year of your F-150, you may need to lower the window glass partially to access the bolts. If this is the case, simply peal the tape off the outside of the window, lower the glass to a point that gives you access to the bolts and then reattach the tape. You will need to reconnect the window switch temporarily to move the window.
Remove the tape carefully while holding the window glass with your other hand. Once the tape is removed, tilt the glass toward the front of the truck and pull it upward and outward through the window frame toward the outside of the F-150. This may require tilting it front to back a few times during the removal, depending on the year and cab configuration of your F-150.
Compare the old glass to the new glass before installing. You can perform the installation of the new glass by reversing the removal procedure.