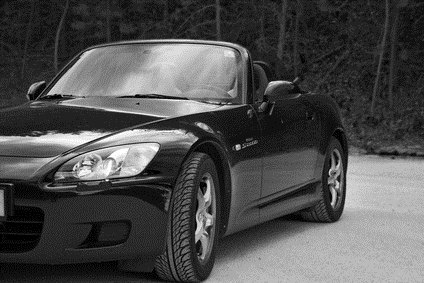
Front-wheel-drive cars such as those from Honda have axle half shafts that use constant velocity (CV) joints that allow for the up and down motion of the suspension as well as the rotation of the axles These CV joints have boots over them that keep water and dirt out and a thick layer of grease in. When a boot fails, you should replace it as quickly as possible in order to avoid a more-expensive repair. With a split-boot or quick-boot kit, you can replace the boot in about 30 minutes, as long as the grease inside the joint isn't contaminated yet.
Park your Honda on level ground. Loosen the lug nuts on the affected wheel without removing them. Place wheel blocks on the opposite wheel. Place the jack under the frame behind the affected wheel and lift it until the wheel clears the ground. Place the jack stand under the frame next to the jack and lower the car onto the stand. Remove the lug nuts and the wheel.
Put on safety glasses. Cut the existing CV boot clamps with the wire cutters, then cut the boot off the axle carefully. Check the grease in the CV joint cage area for contaminants by rubbing it between your fingers. If you feel grit, you should replace the whole joint or halfshaft.
Place the drain pan under the CV joint and wipe as much of the grease out of the joint with a rag as possible. Spray the joint with the solvent or cleaner as you scrub it with the brush. Be sure to rotate the axle as you do this to make sure the whole joint is cleaned thoroughly.
Cut a small diagonal corner out of the grease envelope to make controlling the flow easier. Thoroughly coat the spider cage and bearings with the grease. Place a generous amount of the grease on the bottom of the replacement split boot.
Place the split boot or quick boot over the axle shaft/CV joint and thread the small screws that came with it into the holes in the boot. Slide the boot in place over the large end of the joint. Thread the screws into the nuts using the Allen wrench by turning the wrench and screws clockwise. Torque these to between 15 and 20 foot-pounds.
Position the ends of the boot over the appropriate grooves and install the clamps. Some will use an Allen wrench to tighten, while others may come with a special tool. Remove the excess clamp material to keep it from cutting the new boot.
Clean the surrounding area with the solvent or cleaner, paying particular attention to the brake rotor.
Install the wheel and lug nuts, turning the nuts clockwise by hand until they make contact with the wheel.
Lift the car off the jack stand and remove the stand. Lower the car until the wheel contacts the ground. Torque the lug nuts to the proper specification. Depending on which year and model Honda you have, this will be anywhere between 50 and 80 foot-pounds normally. Lower the car and remove the jack and wheel blocks.