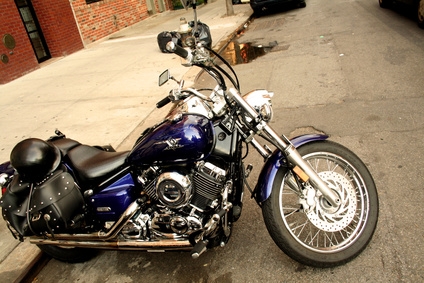
Harleys are often criticized as de-engineered motorcycles, but one of the reasons people buy these bikes is so they can do basic mechanical chores by themselves. It is part of the connection Harley owners feel with their machines. The basic tasks most new owners first learn to perform are changing the oil and lubricating the cables. Harley clutch levers sometimes require the grip of death. This basic chore will help you bond with your Harley and make changing gears easier.
Pull the rubber boot in the middle of the clutch cable down to expose the inline cable adjuster assembly. The assembly will include a lock nut and an adjusting wheel. Loosen the lock nut with a box wrench. Loosen the clutch cable by turning the adjuster wheel clockwise with your fingers until the clutch cable is slack.
Pull the clutch cable out of the clutch cable perch. The perch is a slot on the clutch assembly where the clutch cable enters the clutch lever assembly on the left side of your handlebars.
Put the straw or tip of your spray cable lube inside the cable sheath and spray. Some cable lube devices allow you to lubricate your cables drop by drop. Your clutch cable needs at least two sprays about 30 seconds apart (or at least 10 drops of lubricant). Reinsert the cable and sheath into the clutch cable perch. Clean up any overspray or spilled lubricant.
Turn the clutch cable adjuster wheel counterclockwise. The clutch lever will move toward the clutch cable perch as you do this. Squeeze the clutch handle three or four times to ensure your clutch cable is seating properly.
Continue to tighten the clutch cable until the clutch lever has about 1/16-inch free play. The free play should approximately equal the thickness of a dime. Recover the clutch cable adjustment assembly with the rubber boot.