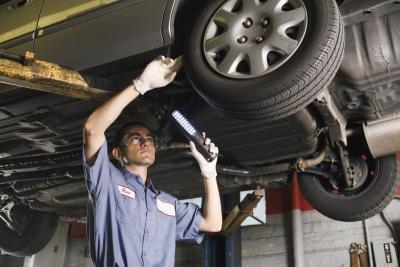
The four-wheel drive Dodge Durango trucks use individual axle shafts with CV joints to turn the front wheels. These axles need regular maintenance. Without regular checking and maintenance, the CV joints can lose lubrication and dry out. That leads to the axles locking up which could cause an accident. Before this happens, you can remove the axle shaft and CV joint from the Durango to perform your own maintenance.
Put the Durango on jack stands with the jack, then take off the wheels using a tire iron. Unbolt the front skid plate from underneath the Durango with the 3/8-inch ratchet and socket.
Pull out the split pin in the center of the axle, then remove the nut lock from the front hub using the 1/2-inch breaker bar and sockets. Unbolt the hub nut with the same ratchet, then take out the spring washer.
Unbolt the brake caliper bracket on the front knuckle with the 3/8-inch ratchet and socket, then support the caliper on the frame with the j-hook. Unbolt the wheel speed sensor from the back of the wheel hub, then unbolt the wheel bearing and hub assembly from the knuckle with an open-end wrench.
Pry the axle shaft off of the transfer case on the front end using the pry bar. Pull the axle out of the front suspension with both hands and move it to a clean workstation.
Take off the boot clamps on the CV joints at the end of the axle shafts with a pair of pliers. Take out the snap ring holding the tripod joint in place using the snap ring pliers. Take the circle clip out of the back of the CV joint and then remove the CV joint from the axle shaft.