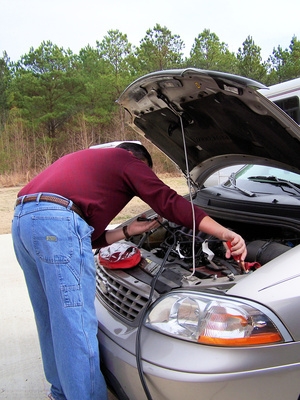
A vehicle's alternator powers all sorts of essential devices like headlights, ignition coils and engine cooling fans. In addition, alternators also power non-essential devices such as the radio and air conditioning. When the alternator fails, the vehicle will not fail right away as the battery will provide power for a short while. Eventually, though, the alternator will need to be replaced. On a 2002 Kia Sedona, replacing the alternator is a very lengthy process.
Park the Sedona and turn off the engine. Remove the keys from the ignition and open the hood. Put on the gloves.
Remove the terminal connections on the battery. The terminal connections pop right off as you pull on them. Allow 30 minutes to pass for the airbags to automatically disable.
Remove the air filter intake. The air filter intake is the large plastic box above the radiator that is connected to the air filter housing. With the air filter intake removed, you can now remove the support beam above the radiator itself. You will have to use a Phillips screwdriver to remove a total of 10 screws from the support beam.
Place the large pan underneath the vehicle right under the radiator. Unplug the two radiator hoses that are connected to the radiator. This will cause antifreeze to spill out. The large pan should catch all of the antifreeze. If it does not, make sure to clean it up afterward, as it is a very dangerous chemical.
Remove the pipe that the radiator hoses were connected to. Remove both fans that are attached to the radiator by unscrewing the four screws holding each fan in place. This will allow access to the alternator itself.
Remove the serpentine belt by loosening the manual adjustment pulley held in place by two nuts. Use the socket wrench to remove the nuts and then remove the serpentine belt. Remove the support bar that connects the engine block to the alternator. Remove the 2 screws holding the support bar in place to remove it.
Remove the three bolts on the left side of the alternator. Disconnect the wire harness to the alternator by squeezing the tabs and pulling it out. Disconnect the hot connector by pulling it out. Pull the alternator out of the vehicle. Place the new alternator into the vehicle and reconnect the hot connector and wire harness to the alternator.
Reattach the support bar by reinstalling the two screws. Reattach the serpentine belt into the vehicle and tighten the manual adjustment pulley. Reattach the two nuts holding it into place.
Reattach the fans attached to the radiator. Make sure there are four screws for each fan to secure it into place. Reattach the pipe that the radiator hoses were connected to and reconnect the two hoses that were connected to the radiator.
Use all ten screws to reattach the black support beam above the radiator. Place the air filter intake back into the vehicle. Reconnect the terminal connections to the battery and close the hood.