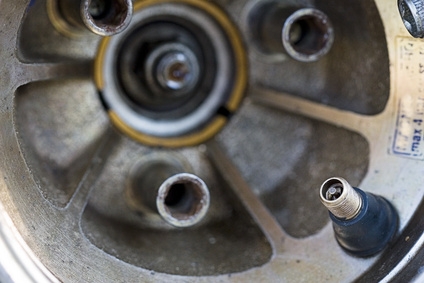
Front-wheel drive vehicles use constant velocity (CV) axles to deliver power to the wheels. A CV axle has two sets of CV joints, called the inner and outer joints. Rubber boots cover each CV joint. A solid bar connects the two joints. The inner joint connects to a transaxle. The outer joint connects to the wheel. If a rubber boot rips, then grease escapes and dirt and water enters the boot. This causes premature CV joint wear and failure.
Loosen the hub nut, sometimes called the spindle nut, one-quarter turn with a breaker bar and the proper size socket. Do not remove the hub nut. The hub nut, located in the center of the wheel, holds the CV axle's outer CV joint to the wheel.
Place a jack under the vehicle's front end and raise the tire with the loose hub nut off the ground. Place a jack stand under the vehicle and lower the vehicle down to the jack stand.
Loosen the raised tire's lug nuts with a tire iron and remove the tire.
Remove the hub nut. If the wheel turns while unscrewing the hub nut, then hold the wheel still with a long screwdriver. To do this, place the screwdriver between two lugs and hold the wheel still while turning the hub nut.
Unbolt the brake caliper and rotor, if needed. Not all vehicle models require this. If so, unscrew the brake caliper's retaining bolts and hang the caliper on the chassis with wire. The rotor will slide off of the lugs.
Slide the inner CV joint from the transaxle. Some models slide straight out. If so, then pry the axle free of the transaxle with a screwdriver before pulling the CV axle out. Some models require unbolting a flange from the transaxle. If so, then use a proper sized wrench to remove the bolts before removing the CV axle. Once free, support the CV axle with a piece of wire.
Pull the outer CV joint from the steering knuckle. It should slide out with little resistance. A light tap with a hammer will break it free, if needed. Pull the old CV axle out of the vehicle.
Compare the new CV axle to the old one. Everything must match.
Slide the new CV axle's outer end into the steering knuckle. Use care to avoid damaging the axle's splines, its grooves.
Slide the CV axle's inner end into the transaxle. Secure it to the transaxle. Tighten any bolts according to the manufacturer's recommended torque with a torque wrench. A torque wrench uses a dial, or needle, that indicates the applied torque.
Install the rotor and brake caliper, if needed. Tighten all bolts to the proper torque.
Tighten the hub nut to the manufacturer's recommended torque with a torque wrench. Use the large screwdriver to hold the wheel still, if needed.
Place the tire onto the lugs and tighten the lug nuts. Lower the vehicle and test drive the vehicle at a slow speed on a safe road. Make several sharp turns and listen for knocks and grinding noises.