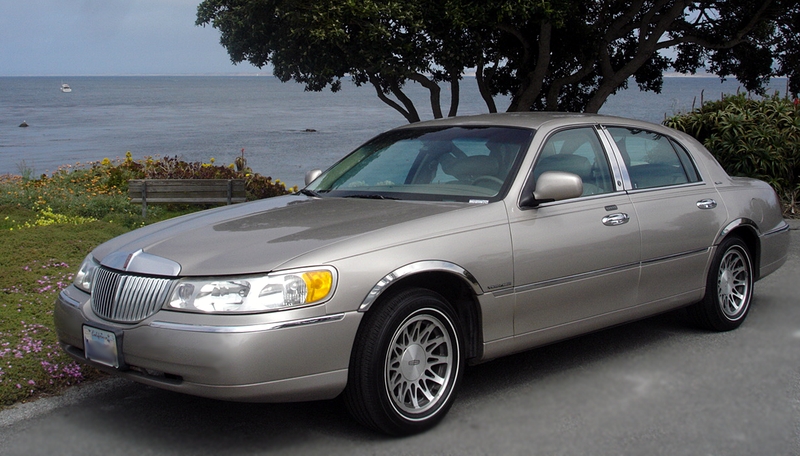
The fuel tank on your Lincoln Town Car will need to be removed for service if you have detected a leak, physical damage or contamination. It is a job you can do yourself following some safety precautions and using a few common tools.
Detach the black, negative battery cable, using a wrench.
Remove the fuel filler cap.
Open the hood and remove the cover from the top of the engine using a ratchet, ratchet extension and socket.
Locate the Schrader valve near the end of the fuel rail and remove the cap. This valve is similar to an air valve on a tire.
Wrap a couple of shop rags around the Schrader valve and depress the valve stem using a small screwdriver as you catch the squirt of fuel with the shop rags. This will depressurize the fuel system. Reinstall the valve cap.
Disable the air suspension by turning the switch off. The switch is located inside the luggage compartment. If necessary, consult your car owner's manual.
Drain the fuel tank through the fuel filler pipe into an approved container, if necessary, using a hand siphon pump.
Disconnect the filler pipe from the car body by unscrewing the three mounting bolts under the filler lid using a ratchet, ratchet extension and socket.
Loosen the wheel lugs from the rear left hand wheel using a lug wrench.
Lift the rear left hand tire off the ground using a floor jack and support your Town Car on a jack stand.
Finish removing the wheel and tire assembly.
Unhook the vapor-recirculation tube connector from the hose leading to the tank. Press the lock tabs on the connector fitting to release the tube.
Unscrew the filler-tube retainer bracket near the fuel tank using a ratchet and socket.
Push the filler pipe into the tank just enough to gain some clearance. Then rotate the pipe half a turn counterclockwise and remove it from the fuel tank. On some models, you might have to remove the tank strap first, using a ratchet and socket, to gain full access to the filler pipe.
Unplug the fuel pump electrical connector.
Disconnect the fuel lines by pressing the lock tabs to release the fittings.
Locate the vapor tube on the right hand side of the fuel tank and disconnect it from the tee, plastic connector.
Follow the vapor tube to the canister tube and disconnect it by pressing the lock tabs.
Support the fuel tank with the floor jack and release the fuel tank by unscrewing the mounting nuts using a ratchet, ratchet extension and socket.
Lower the tank carefully and remove the studs from the tank. Then remove the tank from the vehicle.
Install new studs on the fuel tank. Then place the tank under the vehicle and support it on the floor jack.
Raise the fuel tank to its installed position and use new mounting nuts to secure the tank to the car's under body. Use the ratchet, ratchet extension and socket.
Connect the vapor tube to the canister tube and the tee, plastic connector.
Connect the fuel lines and plug the fuel pump electrical connector.
Install the filler tube in the tank and attach the tank strap if you had to remove it using the ratchet and socket.
Screw the filler-tube retainer bracket using the ratchet and socket.
Hook the vapor recirculation tube to the tank.
Install the wheel/tire assembly and the wheel lugs.
Lower the car.
Finish tightening the wheel lugs using the lug wrench.
Screw the top of the fuel filler pipe to the car's body using the ratchet, ratchet extension and socket. Then install the fuel filler cap.
Refill the fuel tank.
Engage the air suspension by turning the switch on.
Turn the ignition switch to the On position to pressurize the fuel system. Then check for fuel leaks.
Attach the black, negative battery cable using a wrench.