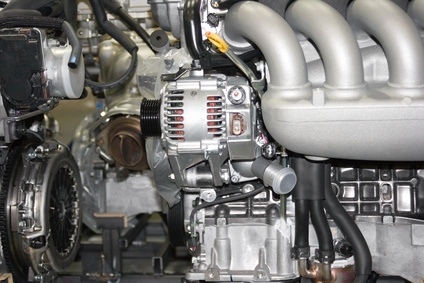
The alternator is the heart of the charging system on your Toyota, and when it goes out, everything electrical will cease to function properly. Although this isn't very convenient, changing out the alternator with a new model isn't very difficult, and can be done at home. In this case, the project vehicle is a 2006 Toyota Tacoma, but the process is similar for other vehicles as well.
Pop the hood. Unbolt the negative terminal from the battery with the open-end wrench, and then do the same with the positive terminal. Disconnect the connections on the alternator using the open-end wrench as well, and unplug the harness using your hands.
Loosen the pivot bolt at the top of the alternator using an open-end wrench. Then remove the lock nut on the bottom adjusting bolt using a 3/8-inch ratchet and socket. Remove the adjusting bolt using the ratchet and then remove the belt from the alternator. Unbolt the pivot bolt completely, then pull the alternator out of the engine compartment.
Install the replacement alternator in the bracket on the engine, first loosely installing the pivot bolt on the top of the alternator, then installing the adjusting bolt using the 3/8-inch ratchet and socket. Loop the belt around the alternator pulley and then tighten down the adjusting bolt until the belt is tight.
Install the lock bolt on the adjusting bolt using an open-end wrench. Then tighten the pivot bolt using the 3/8-inch ratchet and socket.
Install the wiring to the alternator using an open-end wrench, then reinstall the positive terminal on the battery using an open-end wrench. Follow that by reinstalling the negative terminal. Start the truck and make sure that the alternator charges according to the gauge on the dash.