Since the repair requires a replacement tape measure blade, select a replacement blade recommended by the company where the original tape measure was purchased. Make sure the blade is the same width and length as the original and that the end of the new blade that goes into the tape measure is the same style as the end of the old blade.
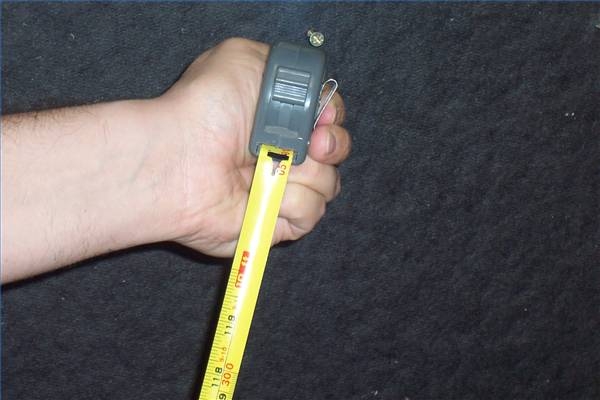
Extend the old blade all the way so that the tip of the spring is showing. A switch on the side of the case is used to lock the tip of the spring in place. If a switch is not present, apply force from a pair of vice-grip pliers. Be careful not to let go of the tip of the spring. The tape measure is ready for the new blade. If the repair-person loses grip on the tape measure, the replacement blade is useless and they should buy a new tape measure.
While firmly grasping the old tape to keep the spring tip exposed, slip the new tape onto the spring and turns it so that the head at the end of the spring grips the "T" shaped hole in the tip of the blade. Both the new tape and the old tape will be on the tip of the spring.
Cut the old tape loose with tin snips while holding on to the new tape to keep the spring extended. Slowly release the blade and let it roll up inside the tape measure. Recycle the old blade.
Release the tape carefully into the case of the tape measure and allow it to slowly retract. When the tape measure has completely retracted, extend it and release it. If it gets stuck, extend it again, slowly, and release it to correct the way that the blade winds.
Be careful when changing the blade on a tape measure since the blade and spring can cut. Never hold the tip of the spring with a bare hand since it can retract and cut the hand or fingers in the process. The user should only hold the blade with the switch that comes on the side of the case or a tool (like a pair of vice-grip pliers mentioned earlier) so that there are no injuries as the device retracts.