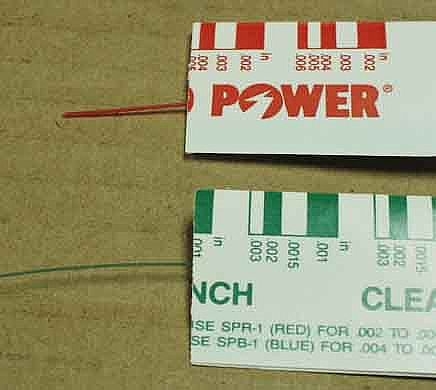
Plasitgauge is a proprietary system for measuring clearances between fitted surfaces of machine parts, such as crankshaft or camshaft bearings. Made from a special extruded plastic thread with accurately controlled crush properties, Plastigage provides a fast and accurate way to check bearing clearances.
If you are going to measure a crankshaft, assemble the engine together with the crankshaft installed with the new bearing inserts in the block and main caps. Make sure all the caps are numbered, in order and installed properly with the arrows pointing forward. Torque all fasteners and bolts to specification.
Loosen the bolts of the bearing cap that you want to check clearance on. Remove the bolts and the cap. Wipe the assembly oil off the surface of the crankshaft where you want to check for clearance, using a clean, lint-free paper towel or cloth.
Tear off a piece of plastigage. Open the paper to remove the plastigage, and place the plastigage across the surface of crankshaft. Position the plastigage in the center of the journal surface. Install the bearing cap and torque the bolts to specification. Remove the bolts and the bearing cap. You will see the crushed plastigage on the journal.
Using the paper that came with the plastigage, use the scale on the side of the wrapper to measure the crushed plastigage. Compare your measurement to the clearance specification. If you are within the specified clearance range, then you are OK to assemble.