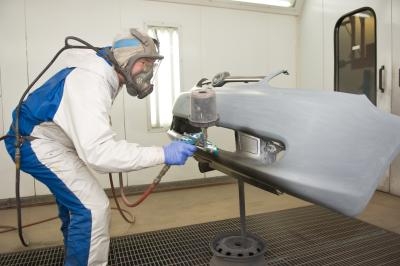
Modern high volume, low pressure spray guns are highly effective at atomizing 'larger volumes of paint and this helps professional sprayers to achieve better topcoats. Many novice auto repair enthusiasts use HVLP guns on their own projects as a means of achieving a superior finish. Paint application can be challenging, especially if problems are encountered while spraying is in progress. However, a number of tried and tested tips can be used to produce paint jobs that even the professionals would be proud of.
Avoid poor edge-to-edge color matches by blending adjacent panels. Rub down the two auto body panels on either side of the repair and use a HVLP spray gun to apply a full coat of transparent binder over all three panels. Flick the spray gun outwards at the end of each arm stroke when paint is being applied so that the color merges into the existing paintwork. The transparent binder will absorb the paint to prevent halos or color edges from appearing when clear coats are applied.
Always select the correct HVLP air cap, fluid tip nozzle and needle before painting begins by referring to the technical data sheets supplied with the clear coat or paint. Wind out the fluid control screw in an anti-clockwise direction to increase material flow and paint from a closer distance of 4 to 6 inches so the paint remains wet at all times. Always paint in well-lit conditions and move the head while working to look across the panel so that dry spots can be easily identified and recoated.
Always check for runs or sags after each coat of paint is applied. If runs appear near the bottom of a vertical panel, flood the area with extra material so that it continues to flow. Add additional paint every few seconds until the flow of material forces the run to disappear. Cut off any drips at the bottom of the panel with a utility knife once the paint has dried and smooth to an even finish with P1500-grit wet-and-dry abrasive paper. Never attempt to chase out runs from the middle of a vertical panel. These should be rubbed out and polished once the paint has completely cured.
Always check clear coats and paint for signs of silicon once the final coat has been applied. These will appear as small, open pockets in the paint finish and are caused by grease or oil contamination in HVLP paint guns or airlines. Before the vehicle is left to dry, dip a cotton bud into surplus paint and allow a drop to run into the silicon pockets so that they form blobs over the surface of the panel. As the paint dries, the material will continue to flow and the blobs will decrease in size until they lay flat. Remove any high spots in the paint with P1500-grit wet-and-dry abrasive paper before polishing back to a shine once the paint has dried.