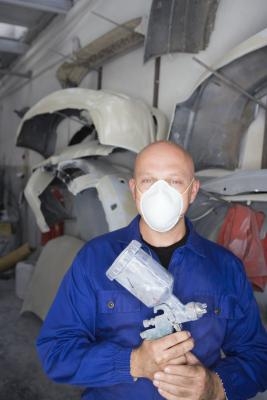
A professional quality paint finish can be easily achieved with an HVLP spray gun. Auto body shops are regulated by strict legislation that demands the reduction of volatile organic compounds (VOC) that are released into the atmosphere. HVLP spray guns are specifically designed to apply paint at high volumes using low working pressures. Occasionally, spray guns can stop working because they become worn, damaged or dirty. Troubleshooting an HVLP spray can quickly rectify most problems so that work production and quality remain unaffected.
Check the basic set up of the spray gun as soon as it stops working correctly. Ensure the correct fluid tip and needle setup is being used for the viscosity of the paint and that the correct air cap has been chosen. Refer to the technical data sheets provided with your paint to establish the recommended spray gun setup. Be vigilant for any sign of wear; replace affected parts with new components immediately.
Resolve imperfections in the fan pattern by making sure the air cap is tightly screwed into place. Ensure paint is being applied at an angle of approximately 30 degrees so that the fan shape provides an accurate assessment of spray gun performance. Use a pick from the spray gun service kit to clear the vent of the holding pot to ensure full air distribution is available.
Ensure that the needle is activating correctly by adding two to three drops of silicon-free oil to the air valve assembly, Check the cleanliness of the spray gun if problems persist, and consider a full stripdown if signs of paint buildup are present.
Empty the paint from the holding pot and rinse the gun thoroughly with cellulose thinners. Remove the air cap and use the gun spanner to take off the fluid nozzle. Take out the needle and loosen the packing nut slightly to release paint buildup.
Soak the spray gun and parts in cellulose thinners for 15 minutes to loosen dried paint materials. Take a stiff gun chamber brush from the service kit and insert it into the chambers of the spray gun, twisting it firmly so that paint residues can be scrubbed from the inner walls. Remember to scrub firmly behind the packing nut. Rinse the gun thoroughly with clean cellulose thinners to remove the final traces of paint.
Reassemble the spray gun and tighten the packing nut. Carry out another performance test by adding activated paint to the spray gun pot and applying it to the masking paper. Resolve further instances of sputtering or poor fan patterns by adding an extra 5 percent of reducer to the paint to promote a better flow of material.