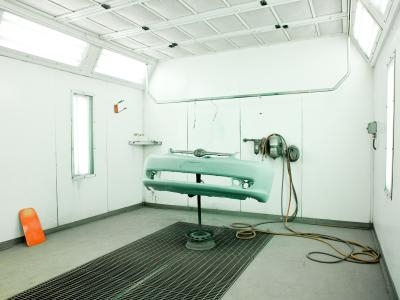
Being in a car accident can be very expensive even if there is little damage. Car bumpers through the dealership or retail stores can be very pricey. Learning how to make your own fiberglass car bumper can save you a lot of money. You can even customize the bumpers to make your car more personalized. Although you do save money building the bumper yourself, it requires a lot of time a patience on top of a good amount of craftsmanship.
Draw out the design of your new bumper. If you are building an exact replica of the old bumper, you can just make a copy of the old design. Do not forget to properly locate where the bumper will connect to the vehicle for a proper fit. The screw holes should align perfectly.
Carve the block of foam into the desired shape you want for your bumper. Remember that the model you are building will be the polar opposite of the final product. If your block of foam is not big enough to cover the whole bumper, you will need to glue several of them together before carving. After carving, sand until smooth. Cover the foam in Bondo and allow it to dry. Sand until smooth.
Apply the polyester primer directly on top of the Bondo. If the primer is liquid you may have the wrong one. Polyester primer is made especially for molds and will be very thick. Allow for the primer to dry before sanding down with 180-grit sand paper. Continue to sand with finer grits until you are wet sanding with 1000-grit paper. After the piece has dried, use a blower to blow away all the fine dust particles.
Polish your piece to a high gloss. Allow it to sit for 3-4 days. During that time, it should be waxed 4 times. The finish and texture that is on your mold will be the same finish and texture on your bumper. Spray 3 coats of Tooling Gel and allow it to get tacky. Apply the resin using a brush.
Break the fiberglass sheet into small pieces. Although using the whole sheet is easier to lay, it will form an imprint on your finished fiberglass bumper. Lay the broken down pieces on top of the resin and allow it to soak in. Use a roller to take out any air bubbles that may have formed underneath. Repeat this process three times.
After the glass has cured and dried, use a razor blade to remove any extruding glass. Use a wooden mixing stick and an air gun to remove your piece. Pry the piece slowly with the the stick while blowing air underneath.