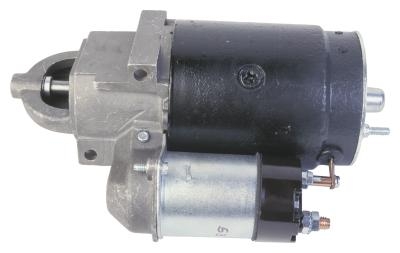
The introduction of electric starters on automobiles eliminated the difficult and potentially hazardous process of crank starting an engine. When the driver activates the ignition switch, a starter solenoid is actuated, which then allows electric current to flow through the windings of the starter motor that starts the engine. As with any electromechanical part, a starter solenoid can fail. Most starter solenoids are part of a complete assembly with the starter motor, which means that the entire starter solenoid and motor assembly will have to be tested to determine if the solenoid is still usable.
Place the starter and solenoid assembly on a bench top. If you don't have a bench top, you may use a garage floor or similar flat surface.
Connect the jumper cable to the battery. On one set of the jumper cable ends, clip the black lead to the negative battery terminal and the red lead to the positive terminal. Do not let the free ends of the jumper cables touch each other.
Touch the free jumper cable leads to the starter solenoid. Hold the black lead to the solenoid housing and the the red lead to the terminal on the starter solenoid. Only hold the leads to the starter for a few seconds before removing the leads. Disconnect the jumper cables from the battery when finished with this step.
Determine if the starter solenoid is good. If you heard a click while performing the previous step, then the solenoid is good. If the motor attached to the solenoid is still usable and electrically connected to the solenoid, then it should have turned as well. In the event that you did not hear a click, the solenoid is bad and will likely have to be replaced along with the starter motor.