If your starter seems to be sluggish or failing, it may need to be replaced. You can remove the starter and have it tested at an auto parts store. If testing the starter determines that it is not bad, it may just need to be cleaned. Once the starter is removed from the car, you can disassemble it and clean it easily with common tools. Cleaning out any dust, dirt and grime from the components of your starter can improve the connections and function, saving you money on an unnecessary replacement.
Place the starter on a clean, flat surface. Clean the outer case of the starter with a lubricant cleaner and an abrasive pad or light brush. This will prevent any contaminants from entering the starter components when you take it apart.
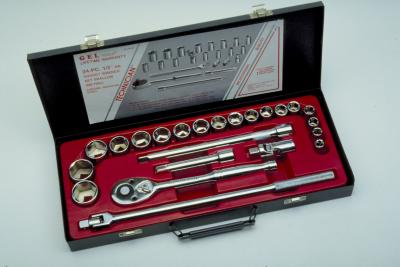
Remove the two bolts on the outer end of the starter using a wrench or socket and ratchet. These bolts are all that secures the starter motor together. The bolts are long, so it will take a minute to back them out. Set the bolts aside in a safe place after cleaning them with the lubricant cleaner and a rag or brush.
Pull the starter apart into three sections. The motor will separate easily once the retaining bolts are removed. The two outer ends will come off leaving the inner cylinder as the third piece.
Clean each component carefully with the lubricant cleaner and an abrasive pad, light brush or rag. If there is dirt or grime stuck in an area, the abrasive pad or brush will help break it loose with the cleaner. Otherwise, the soft rag should work well with the cleaner.
Reassemble the starter components to the same orientation they were in when you disassembled the motor. Reinstall the retention bolts and tighten them securely with a wrench or socket and ratchet.