Automobile suspension bushings come in a variety of shapes, sizes and thicknesses, according to their application. Bushings may be make from several materials, including rubber, polyurethane, urethane and graphic composites. Bushings prevent wear to expensive suspension components by absorbing vertical and lateral forces produced by the vehicle over different terrain. They cushion and absorb shock on the chassis to keep it shock from entering the passenger compartment. While absorbing these vibrations, they still allow limited movement and flex in the suspension joints, keeping the wheels firmly grounded and on track during turning maneuvers. A vehicle's owner may check all its suspension bushings for proper shape and condition.
Perform a drive test over an area that has various road surfaces, such as straight pavement, dirt roads, rough pavement, speed bumps and curves. Listen for any suspension noises. Clunks, squeaks and squeals (without brake application) will be the first indications that one or several suspension bushings have worn or cracked. Heavy clunks while turning the steering wheel in either direction may point to a suspension bushing problem. Notice if the vehicle pulls or drifts to the left or right while you are driving on a straight and level highway.
Park the vehicle and apply the emergency brake. Examine each one of the tires---especially the front tires---for abnormal wear patterns. Tires worn on the extreme inside (negative wear) or outside (positive wear) tread surfaces, will point to suspension misalignment, which could be bushing-related. Scalloped cups in the tire tread will indicate shock or strut problems, both of which carry small bushings.
Raise your hood and locate the top shock or strut tower in the fender well. You will see a rubber bushing sitting underneath a spacer at the top of shock mount. Examine the bushing for any deformity, such as a crushed (flat) appearance, cracking and splitting.
Push down several times on the suspension and see if the rubber shock bushing separates momentarily from its compression on both sides. Such play or movement will indicate a crushed and worn bushing. Examine the rear shocks---which might have two bushings at each end---for the same symptoms.
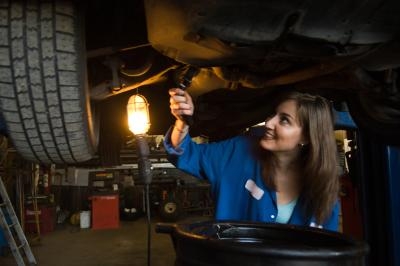
Slide under the front of the vehicle with a flashlight, or as far as you can with the limited clearance. Shine the flashlight on the large angular bar that stretches from one wheel location to the other. This is the anti-sway or stabilizer bar. There should be two frame-mounted bushings and two end bushings.
Examine all four anti-sway bushings for cracks, a flat or crushed appearance, or evidence that a bushing is cocked and squeezed partially out of its bracket or joint. Pull on the anti-sway bar with your hand to see if you can detect movement. A loose bar or deformed bushings will need to be replaced.
Use the floor jack to lift the vehicle high enough to place two jack stands under the front frame and two jack stands under the rear frame. Locate the upper and lower control arms on one side of the vehicle. The control arms appear as large triangular frames and connect with the top and bottom steering knuckles of each wheel. Each control arm has two end bushings. Examine the bushings for cracks and deformity. Wedge a pry bar between the frame and lower control arm an push slightly to check for play.
Wedge the pry bar between the upper control arm and the frame. Wiggle it back and forth and look for play in the bushing sleeve. You may also examine some upper control arm bushings from the engine compartment by looking downward. Look for excessive gaps between the bushing sleeve and retaining spacer. Any sloppy play that produces a noise in either the upper or lower control arm indicates a worn or defective bushing.
Inspect any small stabilizer links that have smaller bushings. The bushings should not be compressed and extend out past their washers. They should have a bulbous shape, and not be squashed on either end or flattened. Look for the torsion bar to control arm bushing for the same symptoms. Refer to your owner's repair manual section that displays all the major and minor bushing locations. The number and locations of the bushings will depend upon the make and model of your vehicle.