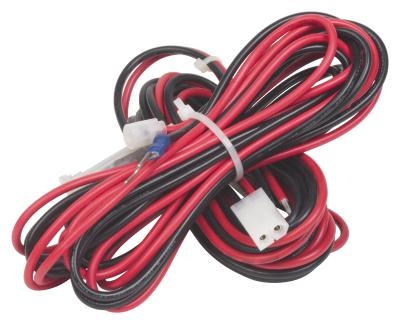
Troubleshooting automobile electrical systems is a process of trial and error. By following the wire from the device to its source you can inspect the condition of the cable insulation along the way and test each connection. This process of elimination leads you to figuring out where the trouble lies. Once you have the problem narrowed down you can make the necessary repairs to complete the circuit. With a 12-volt test light and some patience you can fix almost any electrical problem.
Turn the ignition switch to the "power on" position.
Connect the alligator clip on the 12-volt test light to any bare metal on the vehicle. An automobile electrical system uses the metal body as a common ground for all devices.
Disconnect the harness from the device and probe the bare metal connections with the 12-volt test light probe. If the test light illuminates you have power at that connection. If you detect power at the harness which attaches to the device, but the device does not power on, it is most likely broken and needs to be replaced.
Follow the wire along its path looking closely at the condition of the cable insulation cover. If you discover areas where bare metal wire is exposed, make the necessary repairs. An exposed conductor causes a short when it comes into contact with the metal body of the vehicle.
Follow the wire to its first connection. Disconnect the harness and test the bare metal connectors on the source side with the 12-volt test light. If you discover power on the source side of the wire, but none after, repair the connection.
Continue following the wire checking the insulation and each connection along the way until you find the problem area.