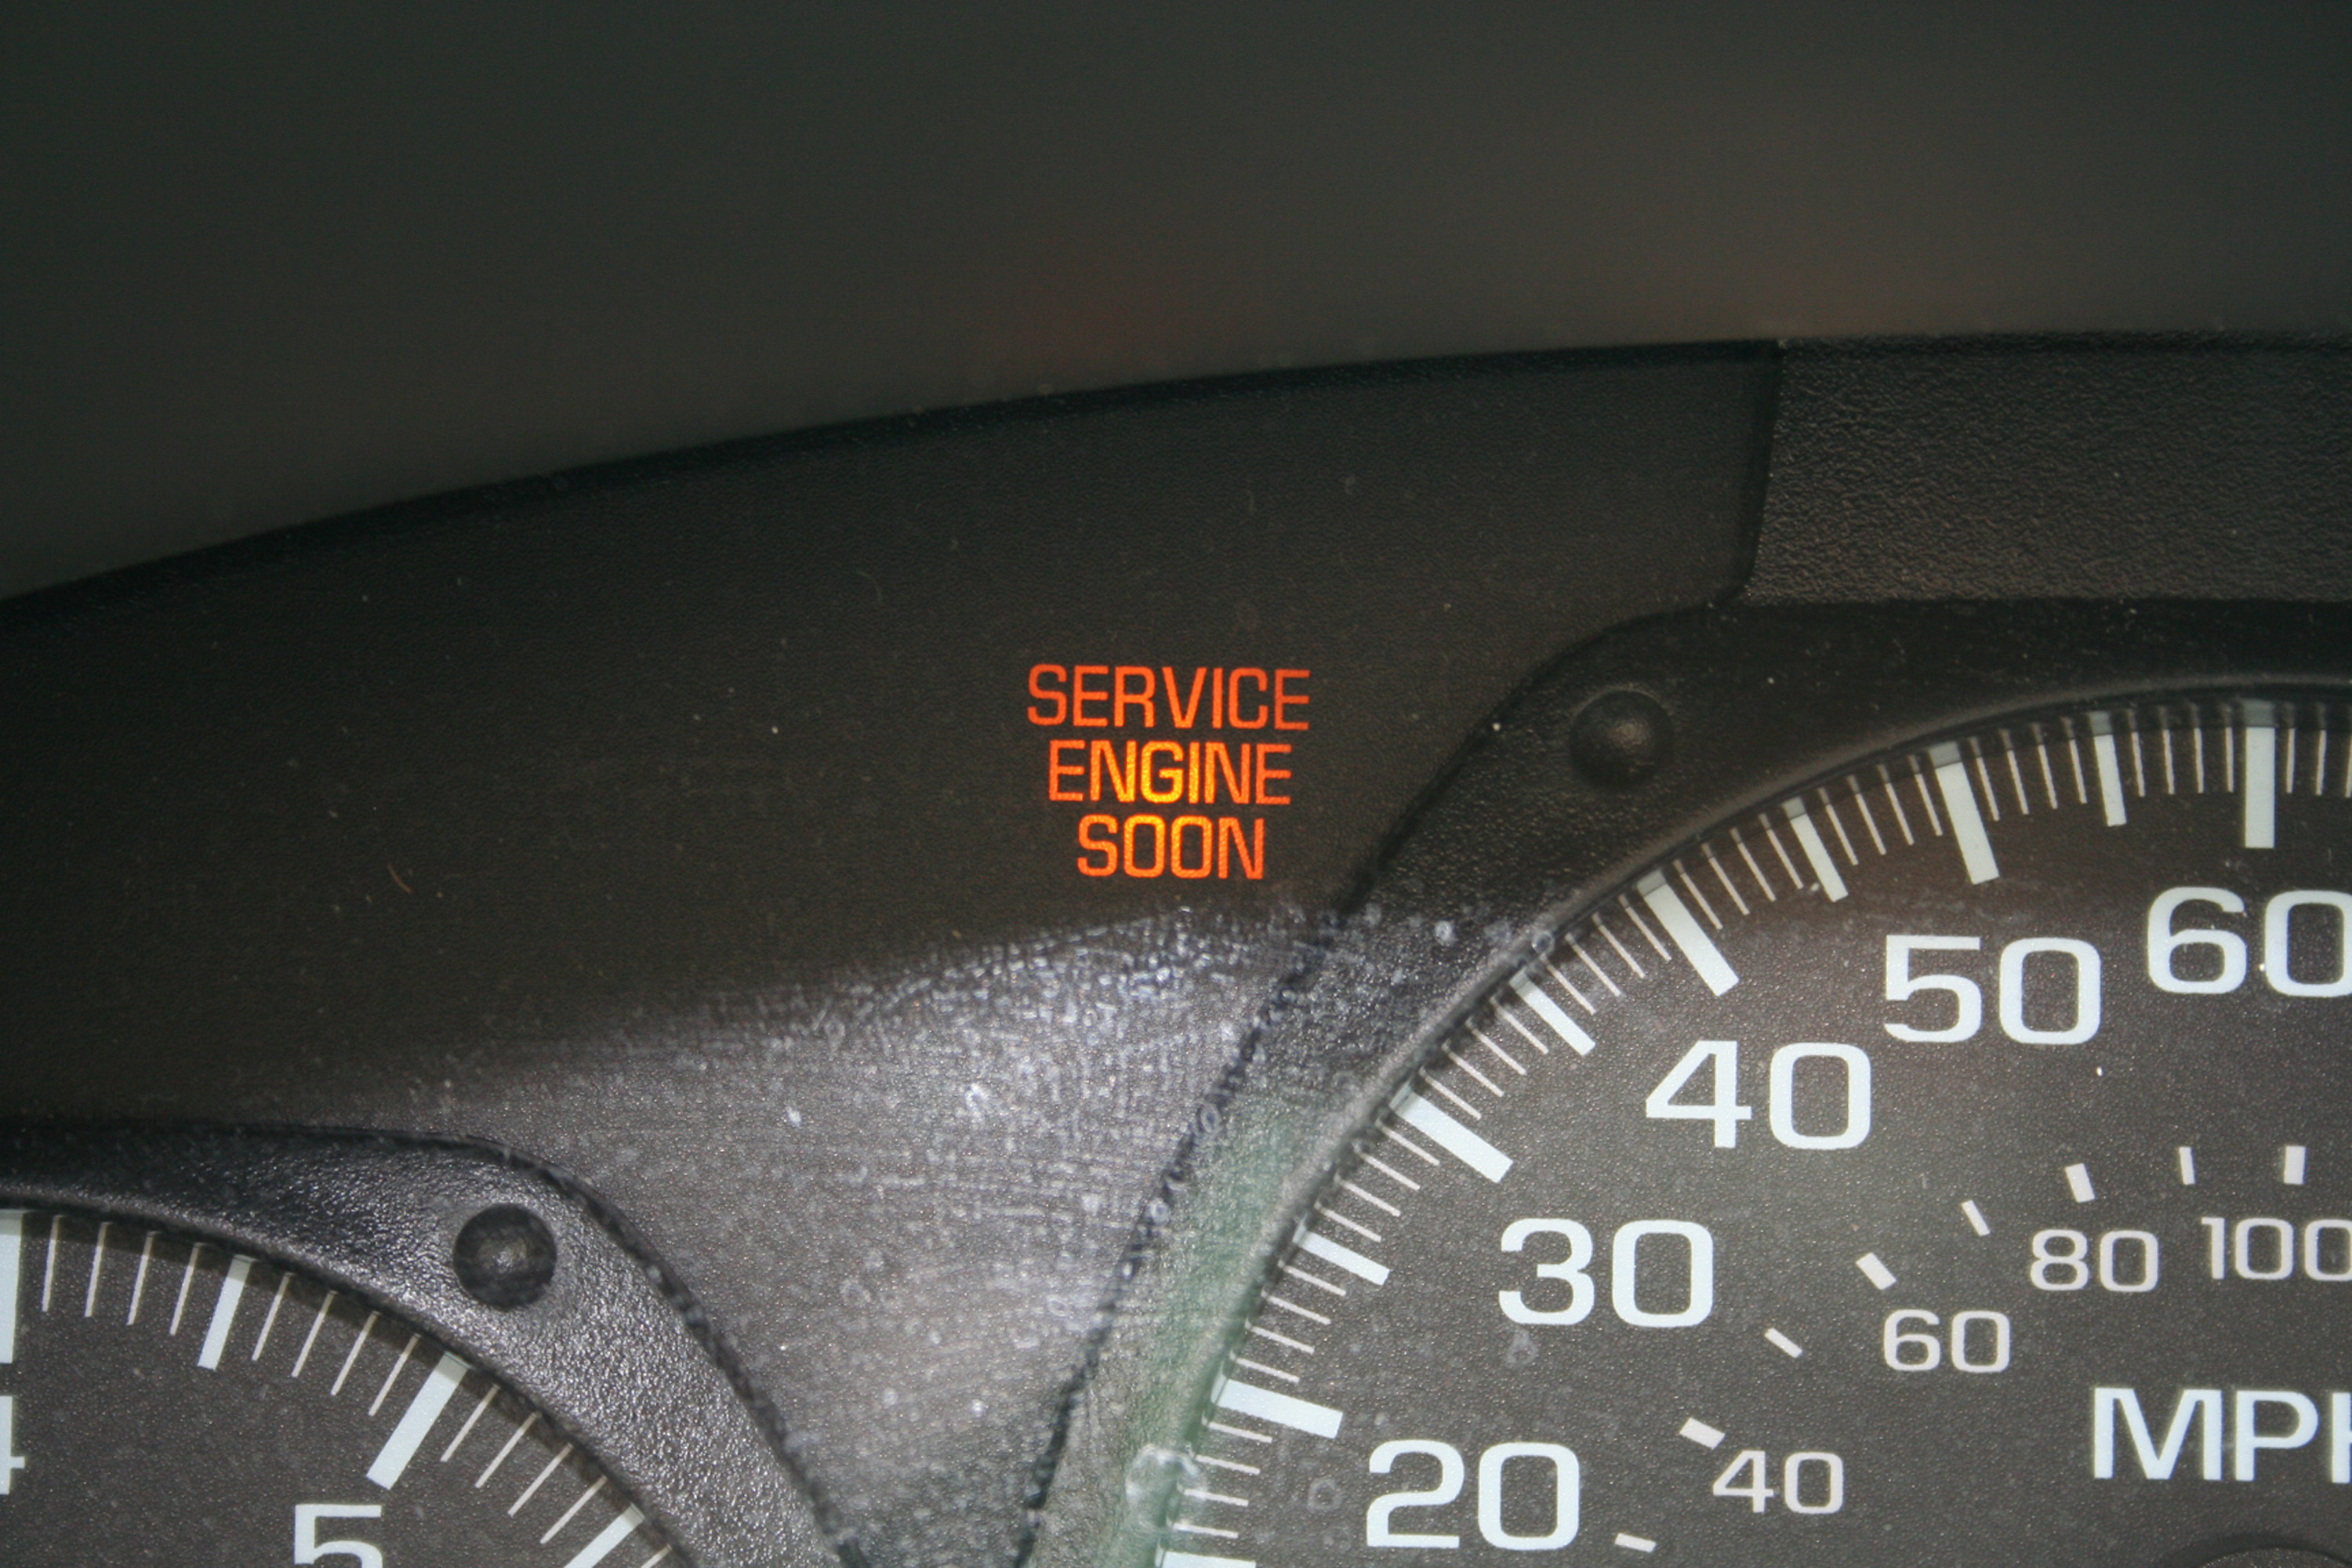
It’s amazing how a small light on your instrument panel can ruin your day. Your Trailblazer is running fine then the “Check Engine” light appears. The list of causes can make your head spin. This could be the sign of an EVAP leak and diagnosing the problem can be frustrating, but with a little detective work - and a bit of luck - you can determine what is wrong and avoid a costly repair bill. You may have to spend a little to solve the ultimate problem but there are steps that will save you money in the long run.

Take the car to your local auto parts store, (e.g., Auto Zone). Have them connect their diagnostic scan tool to your vehicle; this will determine which code is being pulled by the car's computer. Most places that are equipped will do this for free. This should solve the first clue. There can be several reasons for EVAP codes to trigger. The most common are for leaks. P0440, P0442, P0455, P0456 and P0457 are among the most common EVAP codes, each indicating a different size leak or sensor malfunction. There is the possibility that the fuel cap was simply left off after refilling.

Visually inspect the gas cap for any cracks or worn rubber seals. A loose or missing gas cap can actually trigger a malfunction to the computer, producing a code that turns the warning light on. Also check the area around the top of the filler tube for any visible leaks.

Open the hood and check the fuse block for the canister vent valve fuse. Pull it to make sure it is not blown then replace if in proper condition. If the fuse is blown, replace with a new one. Then start the engine and see if the light has gone out. If the light remains lit, more inspection is necessary.

Locate the purge solenoid valve on the left side of the engine, about halfway down. It has a hose and wire leading to it from the rear of the car. Check the hose and wire to make sure they are connected. Test the solenoid with your voltmeter and listen for a click to make sure it is closing.

Jack up the car on the left side, next to the rear wheel, and support it with a jack stand. Using your flashlight, inspect the gas tank and lines leading to it for any leaks or cracks. Sometimes cracks in hoses can be hard to see; bending them will make them visible.

Remove the spare tire to access the vent valve solenoid assembly on the fuel tank. This is located on the rear inboard side of the tank near the rear axle and drive shaft. Gently remove the wire and test the solenoid with the voltmeter to make sure it is working. If the Check Engine light remains lit after all of these checks then you may need to have the entire emission system checked for leaks by a "smoke test." This can be done by most repair shops for around $50 USD and is well worth it. Pay the money, find the leak and fix it.
