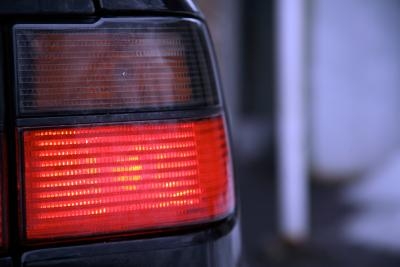
There are three main components of the brake lights on a 2004 Chevrolet Silverado 1500: the connections, the bulb and the fuse. These are also the source of most common problems with the brake lights, and thankfully, they all have simple solutions. Troubleshooting the brake lights on your 2004 Silverado is a simple process that requires only a few tools and takes no more than 10 minutes. Because the brake lights are important for your safety as well as others on the road, they should be fixed as soon as possible.
Park the Silverado and turn off the engine. Open the tail gate.
Remove the two rear assembly screws near the tail gate latch. Pull out the lamp assembly. Make sure all three wires are securely connected and that all three bulbs are plugged in correctly. If the brake lights are still malfunctioning, the bulb may need to be replaced.
Disconnect the wiring harness from the topmost bulb which is the brake light. Press the release tab and rotate the socket counterclockwise to remove it from the assembly. Pull the old bulb out of the socket and place a new bulb into the socket. Wipe the new bulb down with a clean cloth before installing it. Replace the socket into the assembly and rotate it clockwise to lock it into place. Reinstall the rear lamp assembly and the two rear assembly screws. Close the tail gate. If the brake lights are still not working, there may be an issue with the fuse.
Open the hood of the Silverado. Use a wrench to disconnect the negative terminal of the battery then disconnect the positive terminal.
Lift the cover of the under-hood fuse block on the driver's side of the vehicle. Locate the fuse labeled "STOP LP." This is the stop lamp fuse. If the metal rod inside is broken, the fuse has blown out and should be replaced with a fuse of equal amperage. Hold the fuse between your thumb and index finger and pull it out. Place the new fuse into the fuse block. Replace the cover back onto the under-hood fuse block and close the hood.