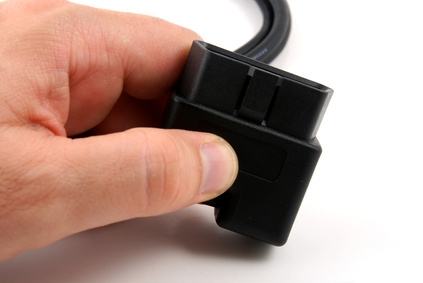
Reading the engine codes on a 1997 Chevy truck was standardized with the implementation of on-board diagnostics 2 (OBD-II) in 1996. This allowed repair stations and dealership service centers to use the same equipment and the engine codes for most all vehicles. While there are several hundred engine codes, all OBD-II codes under 900 are generic while any over 900 are vehicle-specific; geared towards that year, make and model. OBD-II also equipped vehicles with the exact same data/diagnostic link connectors, so the same scanners can be used for all vehicles.
Open the driver's side door and locate the data/diagnostic link connector (DLC) under the dashboard. All 1997 Chevy truck models positioned the DLC on the lower side of the dashboard to the left of the steering column.
Attach the trapezoid-shaped plug of the pocket scanner to the DLC outlet. Because of its shape, there is only one proper way to connect the plug to the DLC.
Place the ignition key into the ignition and then turn the key two clicks forward. This is also referred to as the "ll" position or the KE/EO (key-on/engine-off) position.
Follow the directions in the pocket scanner manual to operate the scanner correctly. While several different manufacturers make OBD-II pocket scanners, the scroll button(s) and on-screen menu of the scanner makes them virtually self-explanatory. Most are empowered by the vehicle's battery reserve power, but some may also feature an on/off button.
Select the option on the on-screen menu to "read codes" or "DTCs" (diagnostic trouble codes).
Click the "select," "enter" or "read" button on the scanner.
Compare the code(s) to the online or printed OBD-II diagnostic trouble codes guide. Some higher codes (over 900) may require getting the information from the dealership because they are vehicle-specific codes.
Turn the ignition key back to the off position once the engine code(s) have been compared and diagnosed, then unplug the scanner from the DLC.