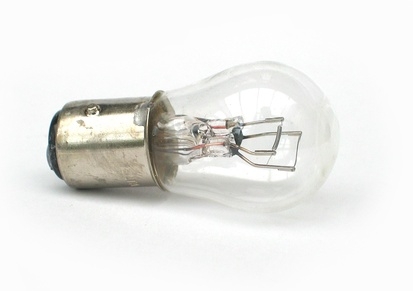
Brake lights are designed to alert drivers of your intention to slow or stop the vehicle. Malfunctioning brake lights are not only dangerous, but they can also lead to a ticket from the police. Brake lights can go bad for several reasons---a blown fuse, faulty wiring, blown bulbs or even a bad brake-light switch. Troubleshooting brake lights is a relatively easy task; you just need to know what to do and a few tips to follow along the way.
Open the fuse panel, located under the driver's side of the dashboard on most vehicles. Remove and check the filament in the fuse for the brake lights to make certain it is intact. You can find the exact fuse location in your owner's manual.
Remove the rear lenses, using a screwdriver or a ratchet and socket. Check the filament in the bulb to see if it is broken. If it is broken, replace the bulb and recheck.
Check the bulb socket for extreme corrosion, as this can break the contact with the bulb.
Remove the brake-light switch, located near the top of the brake-pedal mast. It is a square box with a plunger on the end of it. Wiggle the wiring harness to see if the lights flicker on. Use the multimeter to check the power coming out of the switch when it is in the "on" mode, when the pedal is not depressed. This should be near 12 volts.
Locate the wiring diagram of the lights in the repair manual. Follow the taillight wires and check for any broken connections between the socket and the main wiring harness. Check the ground connections as well, as a faulty ground breaks the circuit and can cause the lights to fail.
Check the headlight switch. This provides the power to the front and rear lights; in some cars, the two are powered by separate circuits. Check this by removing the switch per the repair manual and checking the power coming from the switch in the "on" and "off" positions. It should be nearly 12 volts in the "on" position.