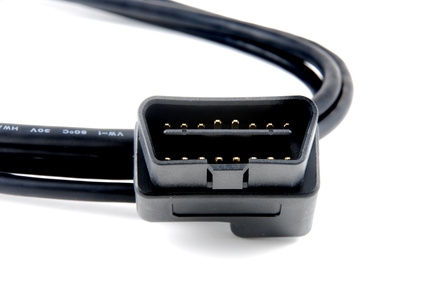
The Toyota Tundra, first manufactured in 1999, featured the second phase of on-board diagnostics (OBD II) that diagnose issues that occur to the truck's engine and operating system and communicate codes (DTCs, or diagnostic trouble codes) to the computer of the vehicle. OBD II standardized the equipment necessary to scan and read the trouble codes that cause the check-engine light (malfunction indicator light or MIL) to illuminate on the instrument panel. Reading the codes is required to determine what triggered the MIL.
Locate the data link connector (DLC) in the Toyota Tundra under the driver's side dashboard. It's on the right hand side of the steering column pointing straight down.
Plug the pocket scanner's 16-point connector to the data link connector. Because of the DLC's shape, there is only one way to plug it in correctly.
Place the key in the ignition and turn it two clicks forward to the accessory power position, without the engine of the Tundra running. This position will light up all the instrument panel lights.
Follow the instructions in the pocket scanner's manual to read the diagnostic trouble code that triggered the check-engine light. These scanners are very easy to use and are practically self-explanatory.
Scroll to the "read codes" option on the scanner (some scanner models may feature the letters DTCs instead of codes).
Press the "Enter" or "Send" button to read the code(s) that triggered the MIL.
Refer to the manual of the scanner to determine the trouble code. Some scanners may feature a brief description, while cheaper scanner models may only display the code number.
Research the diagnostic trouble code on a computer using a universal diagnostic trouble code website (see Resources). Codes lower than 1000 are universal, but code numbers over 1000 are specific to the vehicle.