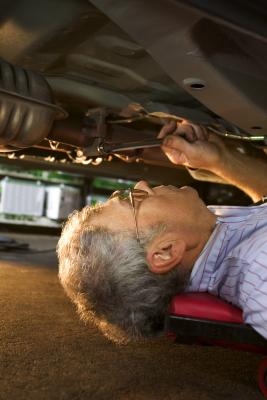
Automotive torsion bars serve a very important function on a vehicle. While one end of a torsion bar remains fixed with a key head to the cross member, the other end attaches to the lower control arm. The bar functions like a linear spring, keeping the suspension tight between the lower control arm and the vehicle frame. The torsion bar resists torque when vehicle movement is applied. Many vehicles have torsion bar keys that are adjustable for a stiffer or looser ride, and the keys can be replaced. A do-it-yourself repair person must use extreme caution when changing the torsion bar keys, since they are under tremendous pressure.
Place the vehicle in neutral and chock the rear wheels. Apply the emergency brake. Use a floor jack to raise the vehicle in the front and place two jack stands under the frame near each wheel. Raise the rear of the vehicle and place two jack stands under the rear frame. Place the vehicle in park, if it has an automatic transmission.
Use a piece of chalk to mark the position of the torsion bar where it attaches to the lower control arm. Measure the distance from the ground to the inside of your fender well, and remember the distance in inches.
Place a two-jawed puller underneath the torsion bar, positioning the threaded shaft of the puller onto the dimple mark on the key. The key looks like a small metal flange with a hex bolt running through it, and it connects the torsion bar to the cross member on the vehicle frame. Place the claws of the puller over both sides of the cross member. Tighten the puller shaft nut clockwise with a socket, just enough to make it lightly snug. This unloads the tension on the key bolt.
Loosen and remove the stock key adjusting bolt with a socket, by turning it counterclockwise. Use the end of a ratchet handle to push the stock backing piece out from the top of the cross member. Do not reach in with your hands. Use a tool to shove it out. The backing piece is what the bolt is screwed into. Some backing pieces might be located just inside the cross member, but use a tool to move it out of the way.
Place a socket on the end of the puller nut and turn it counterclockwise very slowly until the threaded shaft moves easily. This unloads the puller tension and the torsion bar. Remove the puller. Remove the torsion bar key by pushing firmly on the torsion bar toward the front of the vehicle, until the bar slips down. Remove the old key from the torsion bar hexed end. Spray lubricant on the new key, the cross member and the end of the torsion bar.
Check your chalk mark to verify that the torsion bar has not shifted out of position. Slide the new torsion bar key into the cross member and center it -- it only fits one way. Place the puller back into the same position you had it before, with the claws over the cross member and the threaded shaft on the dimple mark of the new key. Reinsert the backing piece inside the cross member. Use a socket to tighten the puller nut clockwise until you can install the key adjustment bolt by hand.
Tighten the the key adjusting bolt with the socket and wrench, and stop when you see the clean part of the key adjusting bolt threads disappear into the backing piece. Slowly release the tension on the puller by using a socket to turn the puller nut counterclockwise. Remove the puller. Use the floor jack to lift the vehicle and remove the jack stands.
Check your ride height by measuring the distance from the ground to the inside of the fender with the tape measure. If it matches with your old measurement, you have performed the switch perfectly. Take it for a ride and stop, to measure the distance again.