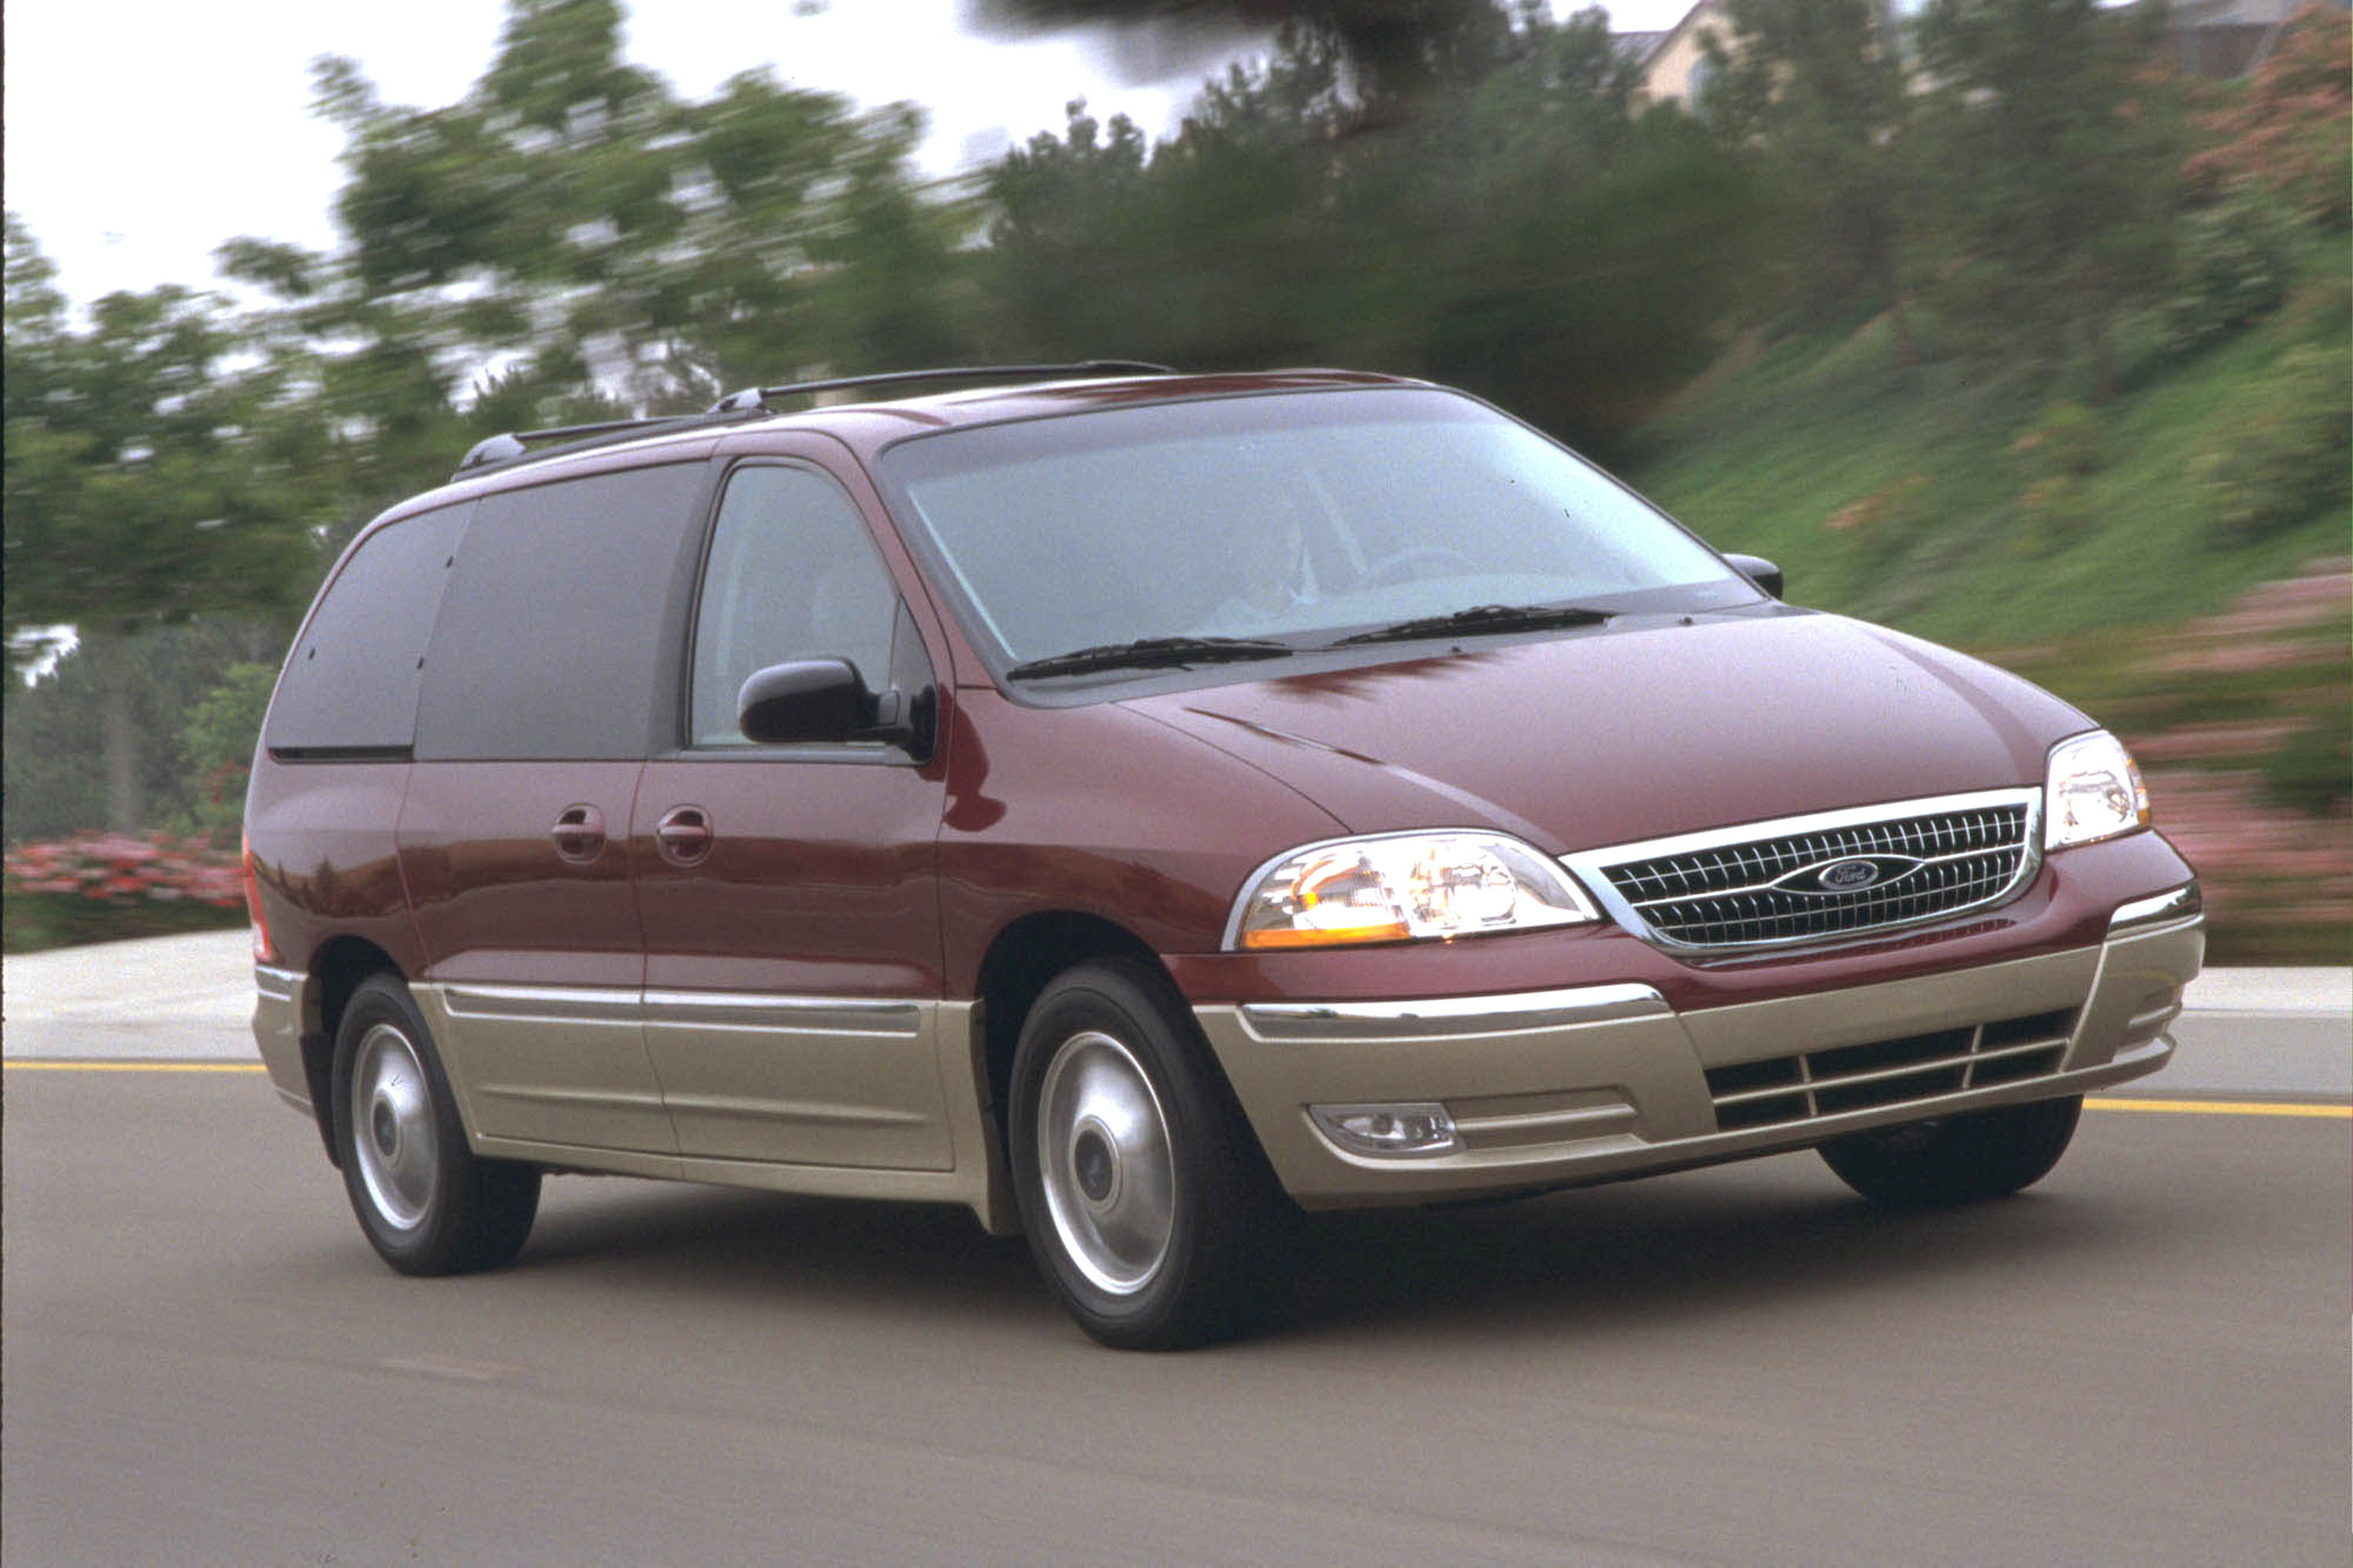
The Ford Windstar was introduced in 1994. The 2002 Ford Windstar was equipped with a 3.8-liter V-6 engine, and was capable of producing 200 horsepower. The coil pack distributes the ignition spark in the 2002 Windstar, and is controlled by the ignition control module. Removal of the air intake is necessary for this project. The 2002 Windstar 3.8-liter has a sideways mounted air intake. The intake extends from the driver's side of the engine to the driver's front fender, and can be somewhat difficult to remove and install.
Raise the hood on the Windstar and set the hood prop. Loosen the air filter housing lid clamp with your hand. Slide the clamp then slide the clamp toward the engine. Push the air filter housing lid sideways toward the engine, then upward. Loosen the air intake hose from the throttle body with a ratchet and socket. Remove the intake hose from the throttle body. Set the intake assembly and filter housing lid on the plastic cowl just in front of the windshield wipers. Do not disconnect the rubber grommet from the intake hose or you will destroy the wires.
Disconnect the negative battery cable from the top of the battery, using a ratchet and socket. Tuck the cable down behind the battery so that it will not make accidental contact with the post during this project.
Place a piece of masking tape on each of the ignition wires attached to the coil pack. The coil pack is directly below the removed air intake. Mark the wires "1", "2", and "3" down the passenger side of the pack, with a black marker. Mark the wires "4", "5", and "6" down the driver's side of the pack. Remove the ignition plug wires from the coil pack. Unplug the electrical connector on the rear of the pack with your hand.
Remove the three mounting bolts for the coil pack and bracket, with a ratchet and socket. Remove the coil pack from the engine compartment completely. Remove the single screw at the front of the coil pack with a Phillips screwdriver. Remove the mounting bracket from the old coil pack and transfer it to the new coil pack. Make sure the electrical connector faces the rear of the new pack when you install the bracket on the new pack. Install and tighten the single screw so that it is snug. Do not torque the mounting screw.
Install the new pack and bracket. Insert and tighten the three mounting bolts to between 44 and 61 inch-pounds of torque with a 3/8-inch drive torque wrench and socket. Install the spark plug wires in the same order they were removed from the old coil pack.
Install the air intake hose back onto the throttle body. Snug the hose clamp with a ratchet and socket. Push the air filter housing lid back into place on the filter housing. Slide the clamp back into place, and close the clamp by hand.
Reattach the negative battery cable to the top of the battery, and tighten the tie down nut to 106 inch-pounds of torque with the torque wrench and a socket.