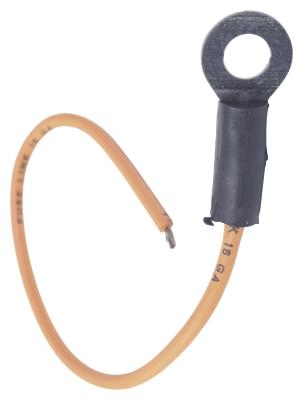
Sometimes while working on a car an accident can happen that makes more work for you. After dropping a wrench or a heavy component like an alternator you now have a split or broken wire to add to your repair list. When this happens, there is no need to have the car towed to the neighborhood mechanic. Just grab these simple tools and fix the broken wire yourself.
Remove the negative battery cable from the negative battery terminal using a 10mm wrench.
Cut out and remove the damaged wire and insulation using the wire cutters. Measure the distance between the wire ends. Cut a piece of 16-gauge wire that is 1 inch longer than needed. For example, if the distance between the wire ends is 3 inches, cut a piece of 16-gauge wire that is 4 inches long.
Remove ½ inch of insulation from all four of the wire ends using wire strippers. Cut two pieces of heat-shrink tubing 1 inch long. Plug in the soldering to allow it to come to temperature.
Grasp one wire end from the wire harness and pry open slightly to open the strands. Do the same on one end of the new wire. Place the two copper ends together. Tightly twist the strands in a clockwise direction.
Place the soldering iron tip on the wire splice for approximately five seconds. Touch the solder to the splice and feed the solder into the strands. As the copper heats, the melted solder will wick into the wire. Remove the solder and solder iron when the solder has fully wicked into the wire strands. Allow the solder to cool naturally.
Slide one piece of heat-shrink tubing over the solder splice. Use a hot-air gun to shrink the tubing around the wire. Remove the hot-air gun after the tubing has shrunk down to size. After the tubing has cooled, slide the second piece of heat-shrink tubing over the wire.
Continue with the second wire splice. Allow the solder connection to cool naturally. Move the second piece of heat-shrink tubing over the solder connection. Use a hot-air gun to shrink the tubing.
Connect the negative battery cable to the negative battery terminal.