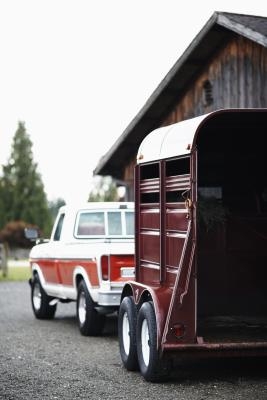
Towing a trailer is a large responsibility because an accident while towing magnifies the consequences. One way to avoid an accident is to ensure your trailer's systems are fully operational. A key systems area is the connection between the trailer and the vehicle's hitch. These are locked together with a coupler fastened to the trailer's tongue. Occasionally a coupler needs repairing due to rust or corrosion. You can change the internal components of the coupler with a few common tools.
Remove the broken coupler's handle and underjaw by loosening the nut located inside the ball mount with a socket and socket wrench. Remove the handle, spring and underjaw.
Inspect the coupler for damaged metal. If it appears twisted, rusted or cracked, you need to replace the whole coupler.
Place the repair kit's new handle and bolt through the hole in the top of the coupler.
Slide the coil spring, underjaw, tension spring and nut onto the bolt, from the bottom, in the order listed.
Tighten the bolt slightly with a socket and socket wrench.
Lower the coupler onto a hitch with the correct-size ball. The ball size is listed on top of the coupler.
Lower the latch to lock the coupler onto the ball. Tighten the bolt that secures the handle until the locking jaw is snug against the ball.