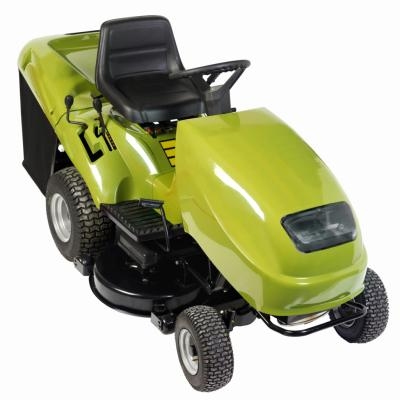
Most first snowfalls of the early winter season take homeowners by surprise. Impacted snow in the driveway can hamper travel in and out. Husqvarna makes a snow plow that has a flexible rubber and metal composite pushing blade that will move large amounts of snow. The plow can be used with any riding tractor with a front hitch. The blade can swivel for any angle of pressure and clear a driveway in minutes. Installing the Husqvarna snow plow will require a few basic tools and assembly steps.
Open the snow plow packing box and spread out the hardware, frames and fasteners in an organized fashion. Arrange the fasteners with each component. Locate the factory marks on the rubber cutting edge that align with the skid bracket mounting holes.
Drill the four holes out with a drill motor and a 5/16-inch bit. Attach the two skid brackets at both ends, using the bolts, nuts and washers provided. Tighten the nuts with an end wrench, making sure the bracket sits flush with the bottom of the rubber edge.
Align the rubber skid with the groove in the blade and shove it through the groove tracks until flush at both ends. The skid brackets should face the back of the blade. Align the two slide hinges with the factory holes on the back of the blade -- two at the top of the blade and two at the bottom.
Insert two top bolts for one slide hinge and place the spacers and nuts on them. Tighten them with an end wrench. Do the same on the opposite slide hinge.
Use the drill motor and a 5/16-inch bit to drill the four lower holes through the slide hinge holes into the aluminum blade, but only drill through the blade and partially into the rubber -- not all the way through the rubber. Use an end wrench to screw the four bottom 3/8-inch cutting bolts into the bottom of the blade through the slide hinges.
Push the interceptor into the guide hole of the plow mount and stick the pin through it so it locks in the tab on the interceptor frame. Align the holes on the interceptor up with the holes in the middle, bottom part of the large push frame.
Choose an elevation height of 6 to 8 inches above the ground surface, while placing the interceptor against the push frame. Install the bolts, spacers and washers and tighten them with an end wrench. Inert the hatch pin into the rear of the plow mount and secure it with the hair pin.
Pick up the blade assembly and hang it over the top groove on the push frame. Push the two keyhole pins through the top of the push frame. Run the lead cord through the bottom holes of both keyhole pins and knot the ends on both (on the outside) with square knots.