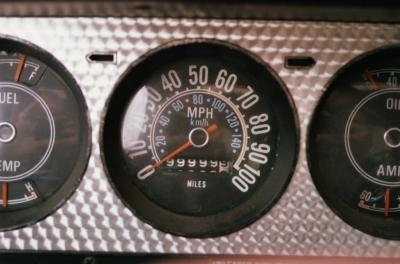
Learning how to remove and repair the speedometer in your vehicle can help you save money on professional repair costs. Most speedometers in newer cars feature full electronics, a fact that may make do-it-yourself repairs problematic. Many older vehicles, however, still utilize mechanical gears. The difficulty of removing the speedometer depends in large part on the vehicle it is being removed from.
Set the vehicle's parking brake to avoid unintended movement. Open the hood and disconnect the negative terminal cable from the battery.
Enter the driver's side of the vehicle and tilt the steering wheel downward to provide extra clearance. Gently remove the bezel surrounding the instrument gauge cluster. Use a slotted screwdriver to pry away the bezel if it is held together with clips. If the bezel is held on with screws, use a Phillips-head screwdriver or a socket wrench with a Torx socket to remove those screws.
Loosen and remove the bolts or screws holding the instrument gauge cluster to the dashboard. Slide the instrument gauge cluster partially out of the dashboard and disconnect all electrical connectors attached to the gauge cluster. Pull the unit out and place it on a flat, level surface.
Separate the speedometer from the instrument gauge cluster, if possible. Inspect the internal components of the speedometer for any signs of broken plastic gears and replace them as needed. On electronic speedometers, inspect the connectors for signs of corrosion and clean them with CRC electrical component cleaner. Most electronic speedometers have parts that are not user-serviceable and must be replaced as an entire unit.
Reattach the speedometer to the instrument gauge cluster and mount it inside the dashboard. Reconnect all electrical connectors to the cluster. Reinsert and tighten the bolts holding the cluster to the dashboard.
Reattach the bezel to the area surrounding the instrument gauge cluster. Reconnect the negative terminal cable to the battery. Test the gauge by inserting the ignition key into the ignition cylinder and turning the key to the "ON" position.