An internal combustion engine uses an electrical spark to ignite the fuel mixture in the engine. At the center of this system is the ignition coil. The coil is transformer that induces a high voltage output from a low voltage input. The automobile ignition coil consists of two coils of wire wrapped around an iron core. 40,000 volts or more can be generated from the 12 volt vehicle battery to fire the spark plugs. Hooking up an ignition coil is an easy task that can be done at home with a few simple tools.
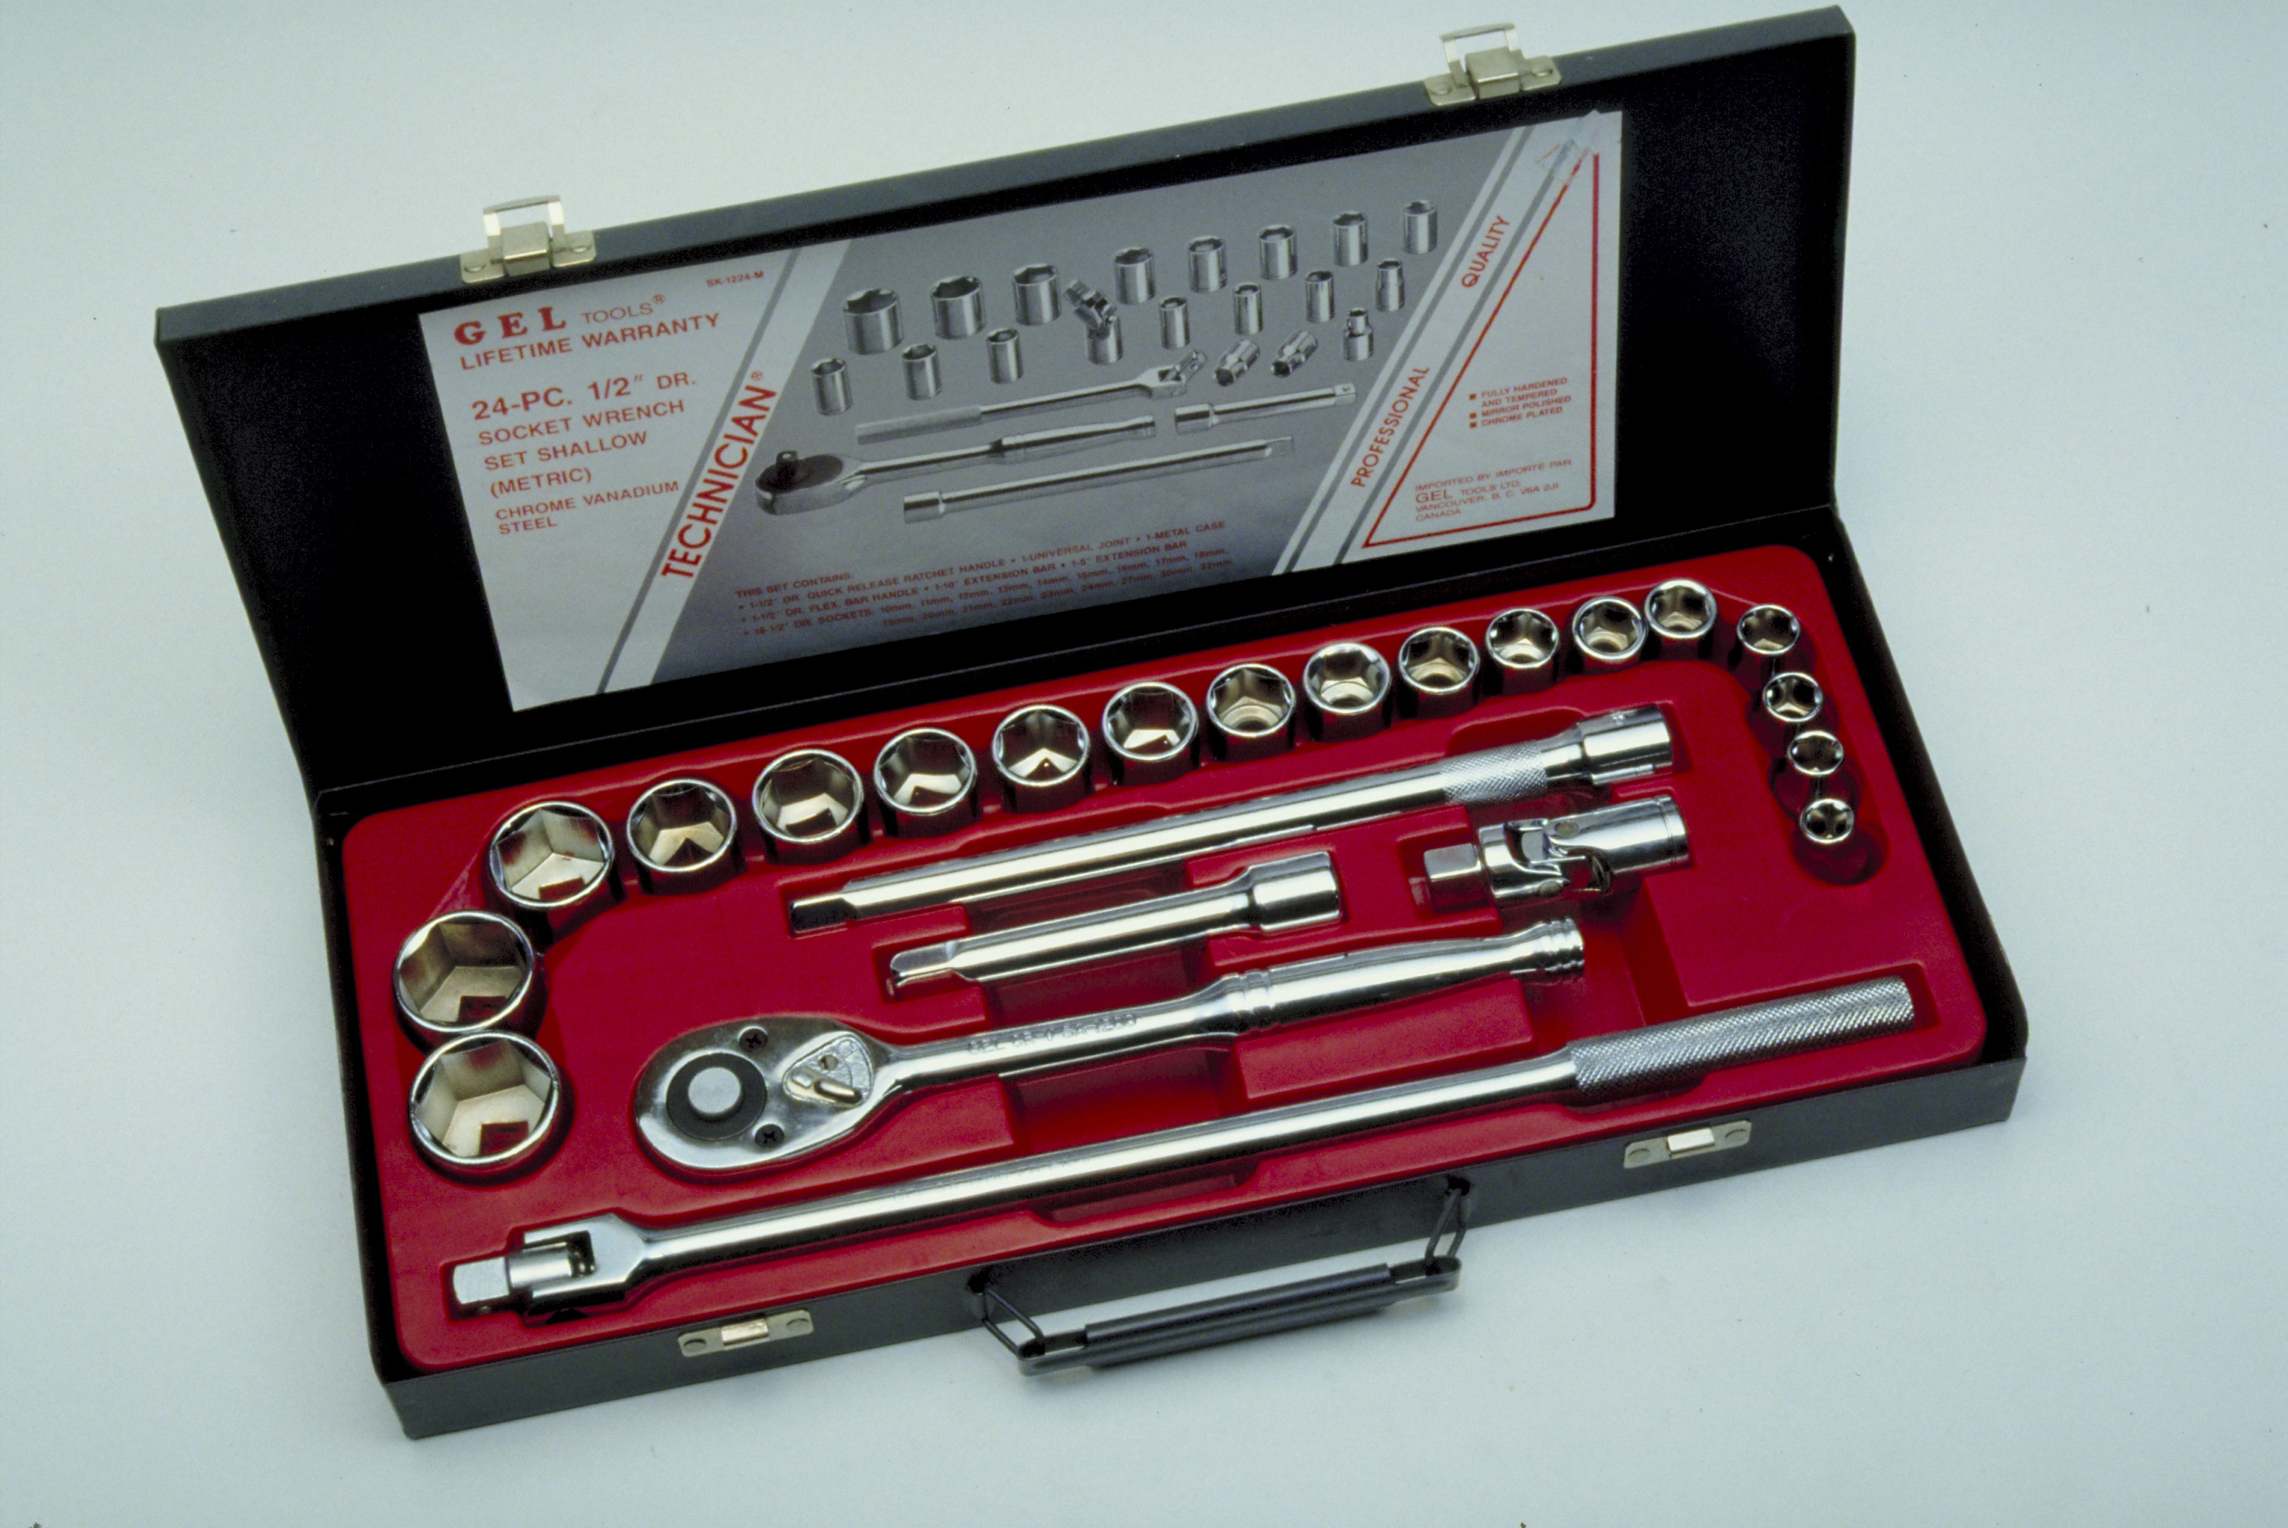
Disconnect the battery negative (-) lead using a socket and ratchet. Locate the vehicle coil. A coil can be mounted on the engine intake manifold or on the engine compartment wall.
Locate the coil wire leads and mark them positive (+) and negative (-). Some vehicles use a plastic wire connector that only fits one way on the coil. Be sure the coil to be hooked up has the same type of connector as the vehicle.
Connect the positive (+) coil lead wire to the positive (+) terminal of the coil using a small combination wrench. Connect the negative coil lead wire to the negative (-) terminal of the coil. Insert the high tension lead wire into the center post of the coil making sure it fully seats.
Connect the negative (-) battery cable to the negative (-) terminal of the battery. Turn the ignition to the "on" or "run" position but do not start the vehicle. Connect the spring clip of the 12 volt test light to the battery negative (-) terminal. Touch the probe of the test light to the positive (+) terminal of the coil. The lamp should light up at the positive coil terminal when the ignition is "on". If the lamp fails to illuminate, touch the probe to the negative (-) terminal of the coil. If the test lamp illuminates on the negative terminal the wires are reversed. Do not start the engine if the terminal wires are reversed on the coil or damage to the ignition may result.