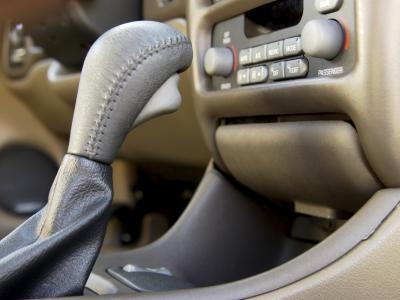
The transmission is integral to the operation and safety of the 2000 Hyundai Elantra. The transmission is responsible for regulating the power produced by the engine. The engine has difficulty transmitting power at a low or a high RPM so the transmission translates that power through a series of gears to the wheels. If the transmission fails, the car will not be able to start or drive at reasonable speeds. Removing the transmission is challenging and will require significant mechanical skill.
Prop open the hood and disconnect the negative battery cable using an open faced wrench. Disconnect the positive battery cable and remove the battery from the engine compartment. Unfasten the battery tray mounting bolts with an open faced wrench and remove the battery tray.
Use a flathead screwdriver to remove the air intake cleaner housing and duct. Unfasten the screws pinning the circular brackets down to remove the duct. Unfasten the intake housing retainer bolts with the appropriate socket wrench.
Disconnect the shift cable and the transaxle ground cable from the transaxle. Use the appropriate socket wrench to release the tension from the shift cable control arm to release the cable. Use a socket wrench to unfasten the ground cable from its mount.
Unfasten the transaxle range sensor and wire harness. The wires will release with a plastic clip in their harnesses.
Place an automotive fluid catcher underneath the vehicle and drain the transmission fluid from the transaxle into the catcher. Use the appropriate socket wrench to unfasten the drain plug. Use a flathead screwdriver to unfasten the clamp on the transaxle cooler hose and remove the hose from the transaxle letting the fluid into the automatic fluid catcher.
Raise the front end of the vehicle on a hard, flat surface using two car jacks. Place the jacks securely on the frame of the vehicle just behind the wheel wells. Slide a jack stand underneath the oil pan and lift the stand until the weight of the engine rests on the jack stand.
Crawl underneath the vehicle and remove the transaxle mounting bracket. Use the appropriate socket wrench to remove the mounting bracket retaining bolts.
Use a tire iron to remove the lug nuts on the front wheels. Lift the wheels up and off the dowel pins to remove them.
Use a socket wrench to remove the retaining bolts of the transaxle roll stopper. The stopper consists of two bars running along the bottom of the transaxle. Remove the bolts at the ends of the bars and one bolt in the middle.
Remove the drive axles by disconnecting the lower controls arms from the steering knuckles. Use a rubber hammer to assist in the removal.
Remove the bell housing access cover of the flywheel by unfastening the retaining bolts with a socket wrench. Remove the transaxle stay bars.
Remove the stabilizer bar by unfastening the retaining bolts with a socket wrench. Use a rubber hammer to disconnect the lower ball joints and then remove the driveshafts.
Remove the starter motor by unfastening the ground cable and starter wires with the appropriate socket. Unfasten the starter motor mounting bolts and remove the starter motor.
Remove the mounting bolts of the subframe with the appropriate socket. Carefully lower the subframe of the vehicle.
Stick a screwdriver into the ring gear teeth while removing the bolts to the torque converter bolts with a socket wrench. This will keep the gear in place while the bolts are unfastened.
Raise a transaxle support underneath the transaxle. Remove the transaxle mounting and retaining bolts with the appropriate socket wrench.
Lower the transaxle jack and remove the transaxle from the vehicle. Do this slowly and carefully while checking for any wires or hoses connecting the transaxle to the vehicle.