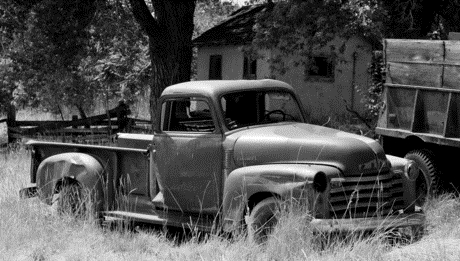
Chevrolet introduce the HHR in 2006. The letters HHR stand for "Heritage High Roof", as the roof line was dubbed off of a 1949 style Chevrolet Truck. The Chevrolet HHR is equipped with the option of a 2.2-liter in-line 4-cylinder engine, or a 2.4-liter in-line 4-cylinder engine. Both engines are equipped with a singular serpentine drive belt, which controls the operation of all of the engine pulleys. The serpentine belt can wear out over time, and replacement becomes the only option. Replacing the belts on either engine is an identical project.
Raise the hood on the HHR, and set the hood prop to support the hood for the duration of this project. Maneuver your body so that you are able to access the passenger side of the HHR engine, as this is the side that the pulleys and serpentine belt are on.
Visually inspect and locate the tensioner assembly on the pulley side of the engine. The tensioner assembly resembles a metal "teardrop", with a pulley mounted at the point of the teardrop end. Install a 3/8-inch drive ratchet and socket onto the tensioner pulley. Maneuver the pulley so that the tensioner releases the tension from the serpentine belt. Use a tube over the handle of the ratchet if you need further extension to depress the tensioner. Remove the serpentine belt completely from the HHR.
Install the new serpentine belt by hand, using the "Belt Routing Diagram" over the radiator as a visual guide. Make sure you route the belt exactly as the diagram shows you. Make your belt installation so that the tensioner is the last part of the installation. Hold the serpentine belt taut with one hand when you are ready to install the belt over the tensioner pulley. Do not place your fingers between a pulley and the belt during any portion of the installation, as injury can occur if the tensioner slips out of your control (see Warnings).
Depress the tensioner pulley with the 3/8-inch drive ratchet and socket. Loop the serpentine belt over the tensioner pulley and release the tensioner very slowly. Do not let the tensioner snap back to tension mode. Visually inspect your work, to ensure that you have the serpentine belt lined up center on every pulley. If adjustments are needed, simply depress the tensioner only halfway and slide belt into proper position.