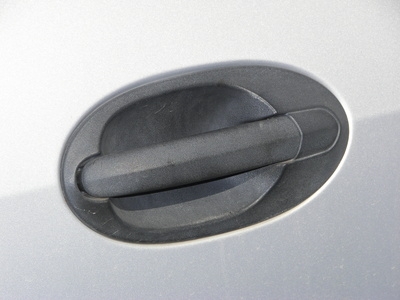
If you are having difficulty opening the rear hatch on your Chevy Tahoe, it is safe to assume that the hatch release needs replacing. Occasionally, the hatch release suffers from sticking, although it is still functional. This is a sure sign to replace it before it goes out completely. The replacement process for the hatch release is one you can perform yourself, so you can save the money you might otherwise need for a mechanic.
Release and raise the rear hatch using either the unlock button on the inside of the driver's door or a keyless remote, locate the hatch release on the inside of the hatch, then depress the hatch pins using a flat-head screwdriver, and remove the hatch panel holding clips with the trim panel remover.
Remove the rear hatch release panel with your hands, detach the release cable C-clip with the flathead screwdriver, then carefully pull the hatch wiring out with your hands.
Remove the rear hatch release with the ratchet and socket, and install the new rear hatch release by following the previous steps in reverse.