The single ignition coil, or coil pack on newer models, sends a high voltage spark to the plugs to ignite the combustion gases in the engine cylinder. Coil packs consist of individual coils that can operate a separate cylinder, or multiple cylinders at a time. Single coil units fire all of the cylinders, and can be found on the older ignition systems that use distributor caps, rotors and points ignition. Coils and coil packs suffer from overheating, condensation, acid corrosion and case leaks. Coil case leaks result in arcing, where the spark (voltage) escapes to an outside source and grounds against its surface. Arcing ignition coils require immediate replacement.
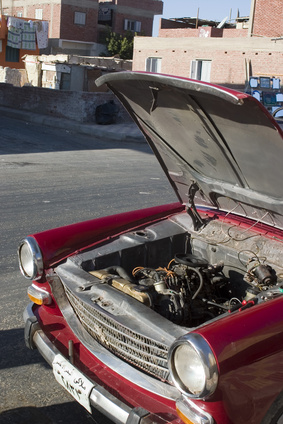
Set the shifter in park, if equipped with an automatic. Set the shifter in neutral for a manual transmission. Pull the hood up. Remove the negative battery cable with a socket. If your vehicle has a single unit coil, locate it by following the middle distributor wire to the end. The single coil will be bracket-mounted on on the intake manifold or on the firewall or fender skirt. Refer to your owner's manual, if in doubt about its location.
Remove the ignition coil wire from the coil by pulling up on the rubber boot. Look at the two terminal posts on the coil -- one will be marked with a negative (-) post, while the the other has a (+) or "Bat" designation. Use a small socket and wrench to remove each of the wires from their posts. Remember which wire goes to which side.
Use a screwdriver or socket to loosen the coil hold-down clamp bolt. Do not remove the bolt entirely, just loosen it enough to slide the coil out of the bracket. Discard the old coil. Place a new ignition coil in the circular bracket, center it and tighten down the hold-down clamp bolt with a screwdriver or socket.
Place the negative wire eyelet back on the negative coil terminal, and the positive wire eyelet on the positive terminal. Tighten down both with a small socket. Place the coil wire back into the coil neck and push the rubber boot down until it seats. Reconnect the negative battery cable with a socket. Start the engine to verify proper spark.
Verify that you have the correct coil pack that has an arc, for a multiple coil configuration. Use a socket and wrench to remove the engine plenum (plastic cover) to gain access to all the coil packs, including the ones at the rear cylinders. Once the suspect coil has been located, pull the coil pack wire off its terminal. Remove the single plug wire, or dual plug wires, if so equipped. Remember their placement. Use a socket to remove the coil pack mounting bolts.
Pull the coil pack out and replace it with a new one. Replace the mounting bolts and tighten them with a socket. Reconnect the coil pack wire. Connect the plug wires to the correct neck fittings on the coil pack. Reconnect the negative battery cable and test run the engine.
Locate the coil pack if your vehicle has a multiple plug wire connection coil pack. Pull the coil pack wire out of its pin connector by depressing the tabs and lifting up. Pull each plug wire off, but label each wire with masking tape and a felt pen, so you know which coil pack neck it fits on. Loosen the four coil pack mounting bolts with a socket. Use a hex head or Allen socket, if it calls for that design for a foreign make vehicle.
Set the new coil pack over the mounting holes and replace the bolts. Use the correct socket head to tighten them. Replace each plug wire on its coil pack neck -- follow your labeling. Push the wire pin connector back into its socket. Connect the negative battery cable with a socket. Start the engine.