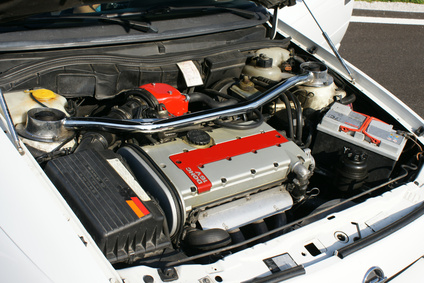
Transmission fluid flows through aluminum lines to the radiator cooling tank where it cools and flows back to the transmission. Transmission lines also dissipate heat and hold pressure. The lines have different fitting connections than regular low- or high-pressure hoses. The ends must be flared precisely to fit into flushed metal seats at the connection points. Transmission lines, located under the chassis frame, can break from impact, or their seals can fail. By following some basic steps, a do-it-yourself mechanic can replace and flare transmission lines.
Remove the transmission line from the radiator fitting or the transmission housing with a fuel line wrench. Take the line to a work bench. Place the end of the transmission line between the cutting wheels of a pipe cutter tool, about 1/2 inch from the end of the line. Tighten the handle of the tool until the clamp closes on the line. Use medium pressure. Do not over-tighten.
Turn the pipe around one revolution and gently tighten the clamp again. Turn it another revolution and cinch the clamp tighter. Turn the pipe around in circles, while tightened until you sever the line. Use a rat tail fine to clean the burrs off the inside of the line opening. This will create a slight bevel. File the outside edge of the line to remove burrs and rough spots. Gently sand the outside edge and side of the line with 400-grit sandpaper.
Place the cap nut on the transmission line with the threads pointing toward the end. Once you flare the end of the line, you will not be able to install the nut unless you cut the other end of the line and slide it on from that end. If you have to cut twice for a single length of new transmission line, place both cap nuts on the transmission line before you flare both ends.
Place the transmission line in the flare line tool block. The block has graduated diameter notches for different transmission line sizes. Set the line in the correct notch guide, with about 1/4-inch of the line extending past the edge of the block. Tighten the turn handles on the block to clamp the line in place.
Place the pointed shaft of the flare line C-clamp inside the line opening. Adjust the clamps on the C-clamp to fit around the flare tool block. Twist the turn handle on the C-clamp until the pointed shaft crushes the transmission line into the block seat. This will flare the end of the line.
Loosen the C-clamp handle and remove it from the block. Loosen the block clamps and remove the line. Examine the end of the line for a uniform flare. Gently sand the edges with 400-grit sandpaper to remove small burrs. Place the line back onto the component fitting and tighten the cap nut with a fuel line wrench.