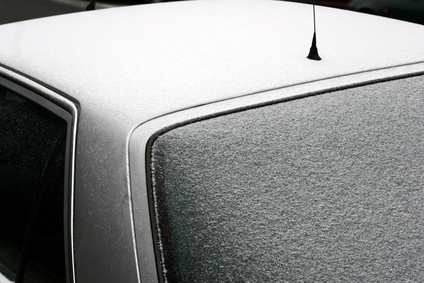
A replacement antenna can improve the reception of your car radio, especially if you have already replaced the radio itself. If you are replacing the radio antenna on your Toyota Corolla, you will likely need to work in the car's ceiling. This can vary depending on the year of the model, but many Toyota models have the antenna mounted on the roof with the cable traveling through the ceiling and back down to the radio within the dash.
Unscrew and disconnect the main antenna mast from the antenna base, mounted near the rear windshield. Like most models, it will come off the threaded connector in a counterclockwise direction.
Enter the car and remove the trim panels along the A-pillars and ceiling at the passenger side: Pry out the screw caps and remove the screws where needed and then pry out the panels with a trim stick. This will lower the ceiling headliner.
Disconnect the cables at the connector, where the antenna base's cable connects to the intermediate cable. If necessary, disconnect the intermediate cable from the radio cable, which will be connected close to the front of the car.
Remove the nut fastening the antenna base to the ceiling from the inside using your wrench. You can now remove the base from the outside of the car.
Insert the base for the new antenna into the mounting hole on the roof, threading its cable through the hole. You will likely need a second person to hold it in place, or you may be able to temporarily secure it with tape.
Screw in the mounting nut for the antenna base from the inside. Remove the tape, if any was used.
Screw the new antenna mast onto the base. You can do this at any time, once the base is secured onto the roof.
Connect the antenna mast cable to the intermediate cable. If needed, connect the new intermediate cable to the radio cable. Position it so it will be in between the ceiling and headboard.
Push and position the headboard back in place on the ceiling and connect the trim panels along the car's inner borders with their clips and screws.