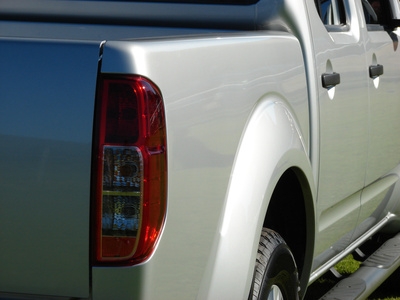
Casting molds are used to make replicas of all sorts of items. You can make such a mold of your vehicle's taillight with silicone, a few household items and a little bit of mold release agent. Once you make the mold, you can use it several times, at least until it breaks or cracks.
Cut a piece of clay that is at least twice as large as your taillight lens. Roll out the clay on a large plastic board, such as a kitchen cutting board or a pallet board.
Lay your lens into the clay with the curved side pointing up and press it in. It should rest with half of the lens imbedded in the clay and the top half showing. Make sure there is at least a 1/2-inch section of clay between the object and the plastic board. The point between the clay and the uncovered part of your object is called the parting line.
Smooth the clay around the lens with your fingers. Cut the excess clay 1/2 inch to 1 inch away from the edges of your lens so you don't have jagged outer edges.
Cut pieces of 1/2-inch-thick foam board to make a complete border around your clay. Press the foam board against the clay and make sure there are no gaps. Use popsicle sticks and hot glue to attach braces on the top to reinforce this.
Mix your silicone mix according to the product instructions. Coat you clay and mold with a release agent so the silicone doesn't stick to your lens.
Find the lowest part of your clay mold and slowly pour the silicone mixture there. This will allow air bubbles to escape.
Allow the silicone to set until cured according to the product directions. Remove the foam board borders carefully and put them to the side.
Carefully flip the silicone and clay over so the silicone is on the bottom. Remove all of the clay from your lens, making sure you get it all.
Repeat steps 4 through 8 using the foam board from before. You can reuse the foam board pieces you already cut apart.
Allow this to set once again. Remove the foam board and separate the two halves of your mold. You are now ready to use your silicone casting mold.