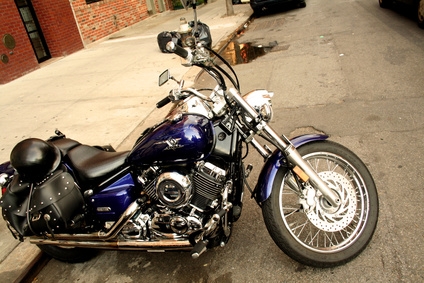
Motorcycles use two different methods to secure foot pegs onto the frame. The first method employs a small clamp on the end of the peg. The clamp then secures to the frame. The second method employs a mounting bracket which secures to the frame using Allen bolts. You can immediately tell what type your motorcycle uses just by looking at them. Regardless of the type, the process for changing foot pegs is relatively straightforward.
Loosen the nut and bolt that secures the clamp onto the frame of the motorcycle using a socket, ratchet and wrench. Thread the nut off the bolt and remove the bolt from the bracket.
Place a blade screwdriver into the opening on the clamp and spread the clamp apart.
Pull the clamp off the frame using your hands.
Locate the screws or bolts that hold the peg mounting plate onto the frame. On cruiser motorcycles like Harley Davidson, the bolts are usually secure to the side of the frame. On street bikes like Yamaha and Suzuki, the bolts secure to the bottom side of the frame.
Loosen the screws or bolts using an Allen Wrench on most Harley Davidson motorcycles or a wrench on most street bikes. Do not remove the bolts just loosen them.
Thread the bolts completely out using your fingers. Secure the peg so it does not fall when you remove the last bolt.