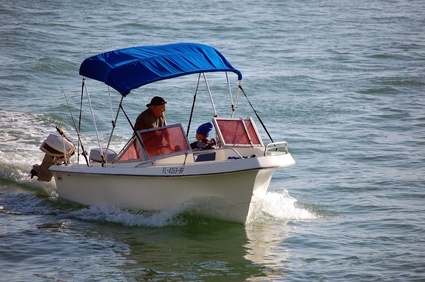
Most new outboard motors are four-stroke engines. These have a lower and upper unit that require oil changing. Johnson is a popular brand of four-stroke boat motors with a lower oil unit that requires regular oil changes. When changing your boat motor oil make sure to check your old oil for shavings and milky coloration. This can provide important information about other engine issues that should be addressed and repaired.
Take your boat out of the water and place it on a trailer. Move the boat trailer to a place where the boat motor oil can be changed. Place a drain pan under the boat motor.
Remove both the drain screw at the bottom of the lower portion of the outboard motor and the vent screw.
Allow all of the oil to drain out of the motor into the drain pan. Inspect the oil for milky color and shredded metal pieces. A milky color can result from bad engine seals that are allowing water to get into the motor and oil. Metal pieces are somewhat normal. Many engines have a magnetic piece near the drain plug that will collect metal pieces. Remove the collected metal pieces before refilling oil in engine. An extremely high amount of metal products or chunks of metal in the drain pan or oil can signify problems with the lower gears.
Pour oil into the fill hole, which is easily located by finding the dipstick, until oil flows from the vent hole. Most outboard lower portion oil is sold in tubes with a small tip on the end that make filling the motor via the fill hole possible.
Replace the vent plug quickly and then replace the drain plug to avoid loosing a large amount of oil.