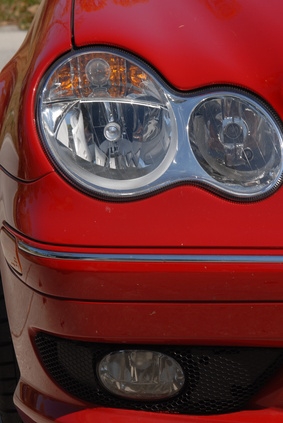
The average headlight bulb for autos will generally perform between 500 and 1,000 hours under normal driving conditions. However, headlights can suffer impact damage or short out at the headlight jack connection. Headlight failure, whether premature or not, will require a headlight replacement. Some bulbs come separate for the high and low beams, while other older vehicles have sealed headlights that incorporate the filament and bulb lens in one unit. the average vehicle owner can replace the headlight bulb by following a few simple steps and using a minimum of tools.
Refer to your owner's repair manual to determine the type of bulb your vehicle needs. Bulbs comes in certain sizes, configurations and brightness-color ratings. Some bulbs contain double elements for a combination high-low beam system, while others bulbs will have individual elements for separate high and low beam operation. An auto parts clerk can also help you identify the brand and size or your required bulb.
Place the vehicle in park or neutral with the emergency brake set. Raise the hood. Disconnect the negative battery cable from its post with the correct size of socket and wrench. Study the headlight lens mounting bracket. Unsnap the the two bracket clips on the back of the housing with a slotted screwdriver, and pull the lens assembly out from the front (for foreign car imports). Remove the retainer frame from the front of the headlight assembly (on other models) with a Phillips screwdriver, and pull the assembly forward.
Pull the headlight assembly outward only enough to disconnect the bulb socket at the back of the housing. Twist the bulb connector end a quarter of a turn until it lines up with the release notch, then pull the bulb socket from the back of the housing. Don a pair of rubber gloves, and gently pull the bad bulb out of its socket connector. Spray the inside of the socket connector with electrical contact spray, and let it air dry.
Push the new bulb into its socket, checking to ensure that it seats firmly. Push the bulb socket back into the circular hole, aligning the notch. Twist it clockwise to lock it back into the headlight housing. Check the wire jack below the headlight housing to ensure the connection fits tightly.
Shove the headlight housing back into its mount. Using firm pressure with one hand pushing forward on the headlight assembly, use the other hand to snap the retaining clips back onto the housing with a slotted screwdriver. In the case of the forward-mounting headlight lens, use a Phillips screwdriver to secure the screws into the front casing.
Reconnect the negative battery cable with the correct socket and wrench. Turn on the headlights, and inspect them for the proper illumination.