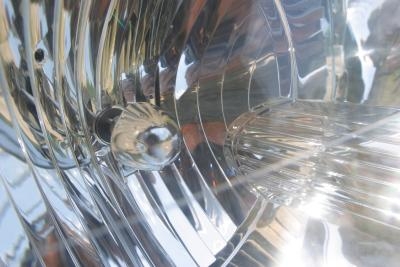
Headlights on newer and older vehicles connect to the electrical system through the socket. The sockets will vary by manufacturer, but all follow the same principle. One wire is the ground, one wire is the low-beam power, and a third wire is the high beam. Separated high and low beams will have only two wires to each light. Replacement sockets come with a small stretch of pre-trimmed wire.
Disconnect the negative terminal from the battery with a socket wrench. Push the terminal to the side so there is no electricity running through the lines.
Disconnect the existing socket from the headlight assembly and then remove the bulb.
Cut the wires going to the socket about 3 inches from the fixture using a wire splicer. Trim off one-quarter inch of the rubber coating on the wire. Most wire splicers will have sections labeled "8" through "18." Grab the wire in the section labeled "16" or "18," and pull the wire free. This will remove the rubber coating without damaging the wire.
Splice the wires from the existing wiring to the new socket by twisting the ends together. The wires are color coded. Match the colors. You will likely have two wires that look the same color. One will have a blue or red stripe that will match to the new socket. Twist on a plastic wire connector over each splice.
Wrap the splices with electrical tape to protect the wire from exposure to the elements. Reinstall the bulb, and insert the bulb and socket back into the light fixture.
Reconnect the negative terminal. Start the vehicle, and test the lights. Check the splices if the lights do not work and repeat the process if you notice any that are not connecting.