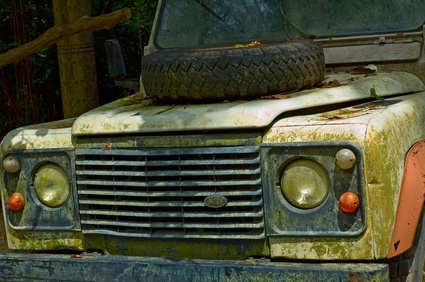
Full-size Jeeps can see a lot of off-road action. That means puddles, streams, sand, mud and other debris that find its way up into the undercarriage and into the drive line components. The drive line and U-joints can suffer the most amount of abuse, since water can invade the U-joints and degrade the grease used to keep them lubricated. The grease fittings on the Jeep U-joints need inspection and regular grease service before or after off-road excursions. This insures that the delicate needle bearings inside the U-joints function properly and do not break.
Place the Jeep in park or neutral with the emergency brake set. For precaution, disconnect the negative battery cable. Raise the Jeep with the floor jack high enough to place two jack stands under the rear frame near each wheel. Raise the front of the Jeep with the floor jack and place two jack stands under the front part of the frame near each wheel.
Position yourself under the rear U-joint next to the third member (differential) housing. You will see a cross-type U-joint that will have three zerk fittings (grease nipples). Spray the zerk fittings with carburetor cleaner and wipe them with a rag. If you cannot see the zerk fitting, release the emergency brake, then rotate the drive shaft by hand.
Poke the sharp end of a paper clip inside each zerk hole to clear the passage. With a cartridge in the grease gun, apply the hose nipple to the zerk fitting and squeeze the gun handle. Pump the handle until you see the small rubber cup expand, filling with grease. You might hear a pop or snap, which means the grease has replaced the air in the cup.
Grease the zerk fitting next to it. The third zerk will be on the rear shaft slip joint. Connect the grease gun nipple to it and squeeze a few times, watching the middle of the "U" near the end of the tube. It will expand with grease, meaning it has filled.
Move farther down the drive line toward the front, where you will encounter the front U-joint. It will have three fittings just like the rear. Make sure you clean all the zerk fittings with carburetor cleaner and a rag. Pump up each U-joint cup to its maximum with grease and wipe away any excess.
Move farther toward the engine and locate the double "cardan" joint, also known as the constant velocity joint. It will look like a single drive line but shorter and have a double U-joint configuration. Grease the three fittings with the grease gun. The zerk fitting locations might be hard to reach. Just turn the shaft and angle the nipple on the grease gun hose until it fits over the zerk. Fill the grease cups.
Move under one side of the front suspension next to the wheel. The two triangular metal frames consist of the upper and lower control arm. Grease the fitting on the top of the upper control arm, and grease the one on the bottom of the lower control arm. A long bar, called a drag link, will have an outer and inner tie rod at the end of the zerk. Use the gun to grease these two fittings. A large steering arm close by, called the Pittman arm, will be connected to the steering rod. Grease the zerk fitting on the Pittman arm.
Move toward the the other side of the front wheel. Grease the outer and inner tie rod zerk fitting at this location. Find the idler arm, a small metal lever that connects to the steering linkage. Grease the zerk fitting on the idler arm. Move to just inside the wheel and locate the upper and lower control arms, ware are duplicates of those on the other side. Grease the zerk fittings on both control arms.