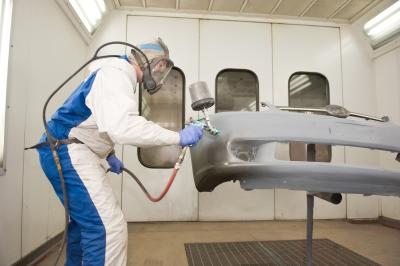
Urethane bumpers -- or, properly, "polyurethane" bumpers -- are simply plastic bumpers or bumper covers. Plastic bumpers gained acceptance in the automotive industry because of their ability to protect the frames of automobiles because of the way they're able to undergo pressure and spring back. Forceful impacts however, can cause a plastic bumper to crack or can create gouges in the bumper. Luckily, these cosmetic problems are easily fixed at home in a day's work.
Wash the bumper thoroughly with wax/grease remover, scrubbing with a gray scuff pad.
Sand the bumper with 180-grit sandpaper. Blow all of the sanding dust away with an air compressor.
Fill any scratches with body filler, then smooth with a putty knife. Allow 20 minutes for the filler to dry. Sand the dry filler with 180-grit sandpaper until it blends in with the shape of the bumper. Blow all of the debris away with compressed air.
Seal the bumper with a thick layer of flexible bumper sealer. Allow 40 minutes for the sealer to dry properly.
Spray the bumper with an adhesion promoter to ensure proper paint adhesion.
Prime the bumper with a thick coat of flexible bumper primer surfacer, then let it dry. Primer is applied to help the paint adhere to the bumper in addition to the adhesion promoter.
Hold an aerosol can of bumper color coat 20 inches from the surface of the bumper and move with a steady motion across the front of the bumper, covering it with paint from side to side. Once the paint is dry, wet-sand the surface with 320-grit sandpaper. Rinse it clean and let it dry again.
Repeat the painting procedure in the previous step five times, sanding with 400-grit sandpaper instead of 320-grit sandpaper after the last coat. Once the bumper is rinsed and has dried, spray one final coat of paint onto the bumper and let it dry overnight. Refrain from sanding the final coat to avoid paint scratches.