Making a short circuit detector will aid a mechanic in isolating and locating wires that don't work because they are in contact with each other due to cuts or breaks in the insulation, or other damage or defects. It will be portable and can be used in a car or to test any electrical circuit that is not working. The builder will be constructing a simple circuit with test leads, a test light, and a power source. Assembly should take a weekend mechanic about 90 minutes.
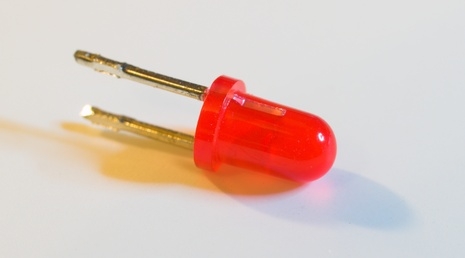
Put on safety glasses. Remove the cover from the plastic apparatus box, and drill a small hole in the apparatus box the size of the LED. Place the LED into the hole from the inside with its leads not touching each other. Glue it in place so that it can be seen with the box closed.
Strip 1/2 inch of insulation off two wires long enough to reach anywhere in the apparatus box and of any color. Solder one end of each wire to either lead on the LED. Place a 9-volt battery holder in the apparatus box and screw or glue it in place.
Drill a hole in the apparatus box large enough for the end of the test leads to pass through. Pass the test leads through the hole and tie them in a small knot so they cannot slip back out of the box.
Solder the end of either wire connected to the LED to the positive terminal on the battery holder. Solder the end of one of the wires connected to the LED to either test lead. Solder the other test lead to the negative terminal on the battery holder.
Place a 9-volt battery in the battery holder. Dress up the wires by folding them where they cannot be pinched when the cover is placed on the apparatus box. Snap or screw the cover onto the apparatus box.
Touch the two test lead alligator clips together and the LED will light up, simulating a short circuit; this will look the same if the leads are connected to two wires in a car that are touching each other, or are "shorted."